PLEASE NOTE: This is missing bits. Although I know you can change the contrast of the LCD, I have not yet figured out a way to do so. I have however worked out how to control the bightness and text.
Ensure you have followed Superio.md in order to enable PWM control. This is usually used to control the fans, however PWM3 is used to control the LCD brightness.
The LCD brightness must be a value between 0 (off) and 255 (brightest). Control the LCD brightness using the echo command, providing the brightness value you want. The following example sets the LCD to half brightness:
echo "128" > /sys/class/hwmon/hwmon1/pwm3
TODO
Controlling the LCD on the DX4000 is extremely easy. It is wired to the Serial Port which is present on the SuperIO chip using WinAmp HD44780 wiring, which is as follows (number in brackets is physical pin):
- LPT D0 (2) -> LCD D0 (7)
- LPT D1 (3) -> LCD D1 (8)
- LPT D2 (4) -> LCD D2 (9)
- LPT D3 (5) -> LCD D3 (10)
- LPT D4 (6) -> LCD D4 (11)
- LPT D5 (7) -> LCD D5 (12)
- LPT D6 (8) -> LCD D6 (13)
- LPT D7 (9) -> LCD D7 (14)
- LPT Strobe (1) -> LCD EN (6)
- LPT LF (14) -> LCD RW (5)
- LPT INIT (16) -> LCD RS (6)
More information can be found on the LCDProc document http://lcdproc.sourceforge.net/docs/lcdproc-0-5-5-user.html#hd44780-8bit-winamp.base-mapping
LCDProc is a popular free LCD control daemon for Linux. It supports the DX4000's LCD and can show system statistics and other information.
To install LCDProc run the apt-get install lcdproc command.
Once installed, we need to configure LCDd to use the LCD correctly. Open LCDd's config with the nano /etc/LCDd.conf command.
Remove the contents of the file (except the cme notice at the top) and paste the following configuration:
[server]
DriverPath=/usr/lib/x86_64-linux-gnu/lcdproc/
Driver=hd44780
ServerScreen=no
Heartbeat=off

[menu]

[hd44780]
ConnectionType=winamp
Port=0x378
bidirectional=yes
Speed=0
Keypad=no
Backlight=no
Size=16x2
DelayBus=no
Please note that in Ubuntu 22.04, the lcdproc service was renamed from LCDd to lcdproc. You may need to check both.
Now save and close the file with CTRL+X then Y then Enter.
Start LCDd with the service lcdproc start command.
You can configure lcdproc to start at boot with the systemctl enable lcdproc command.
The LCD should now show the server home screen like below:

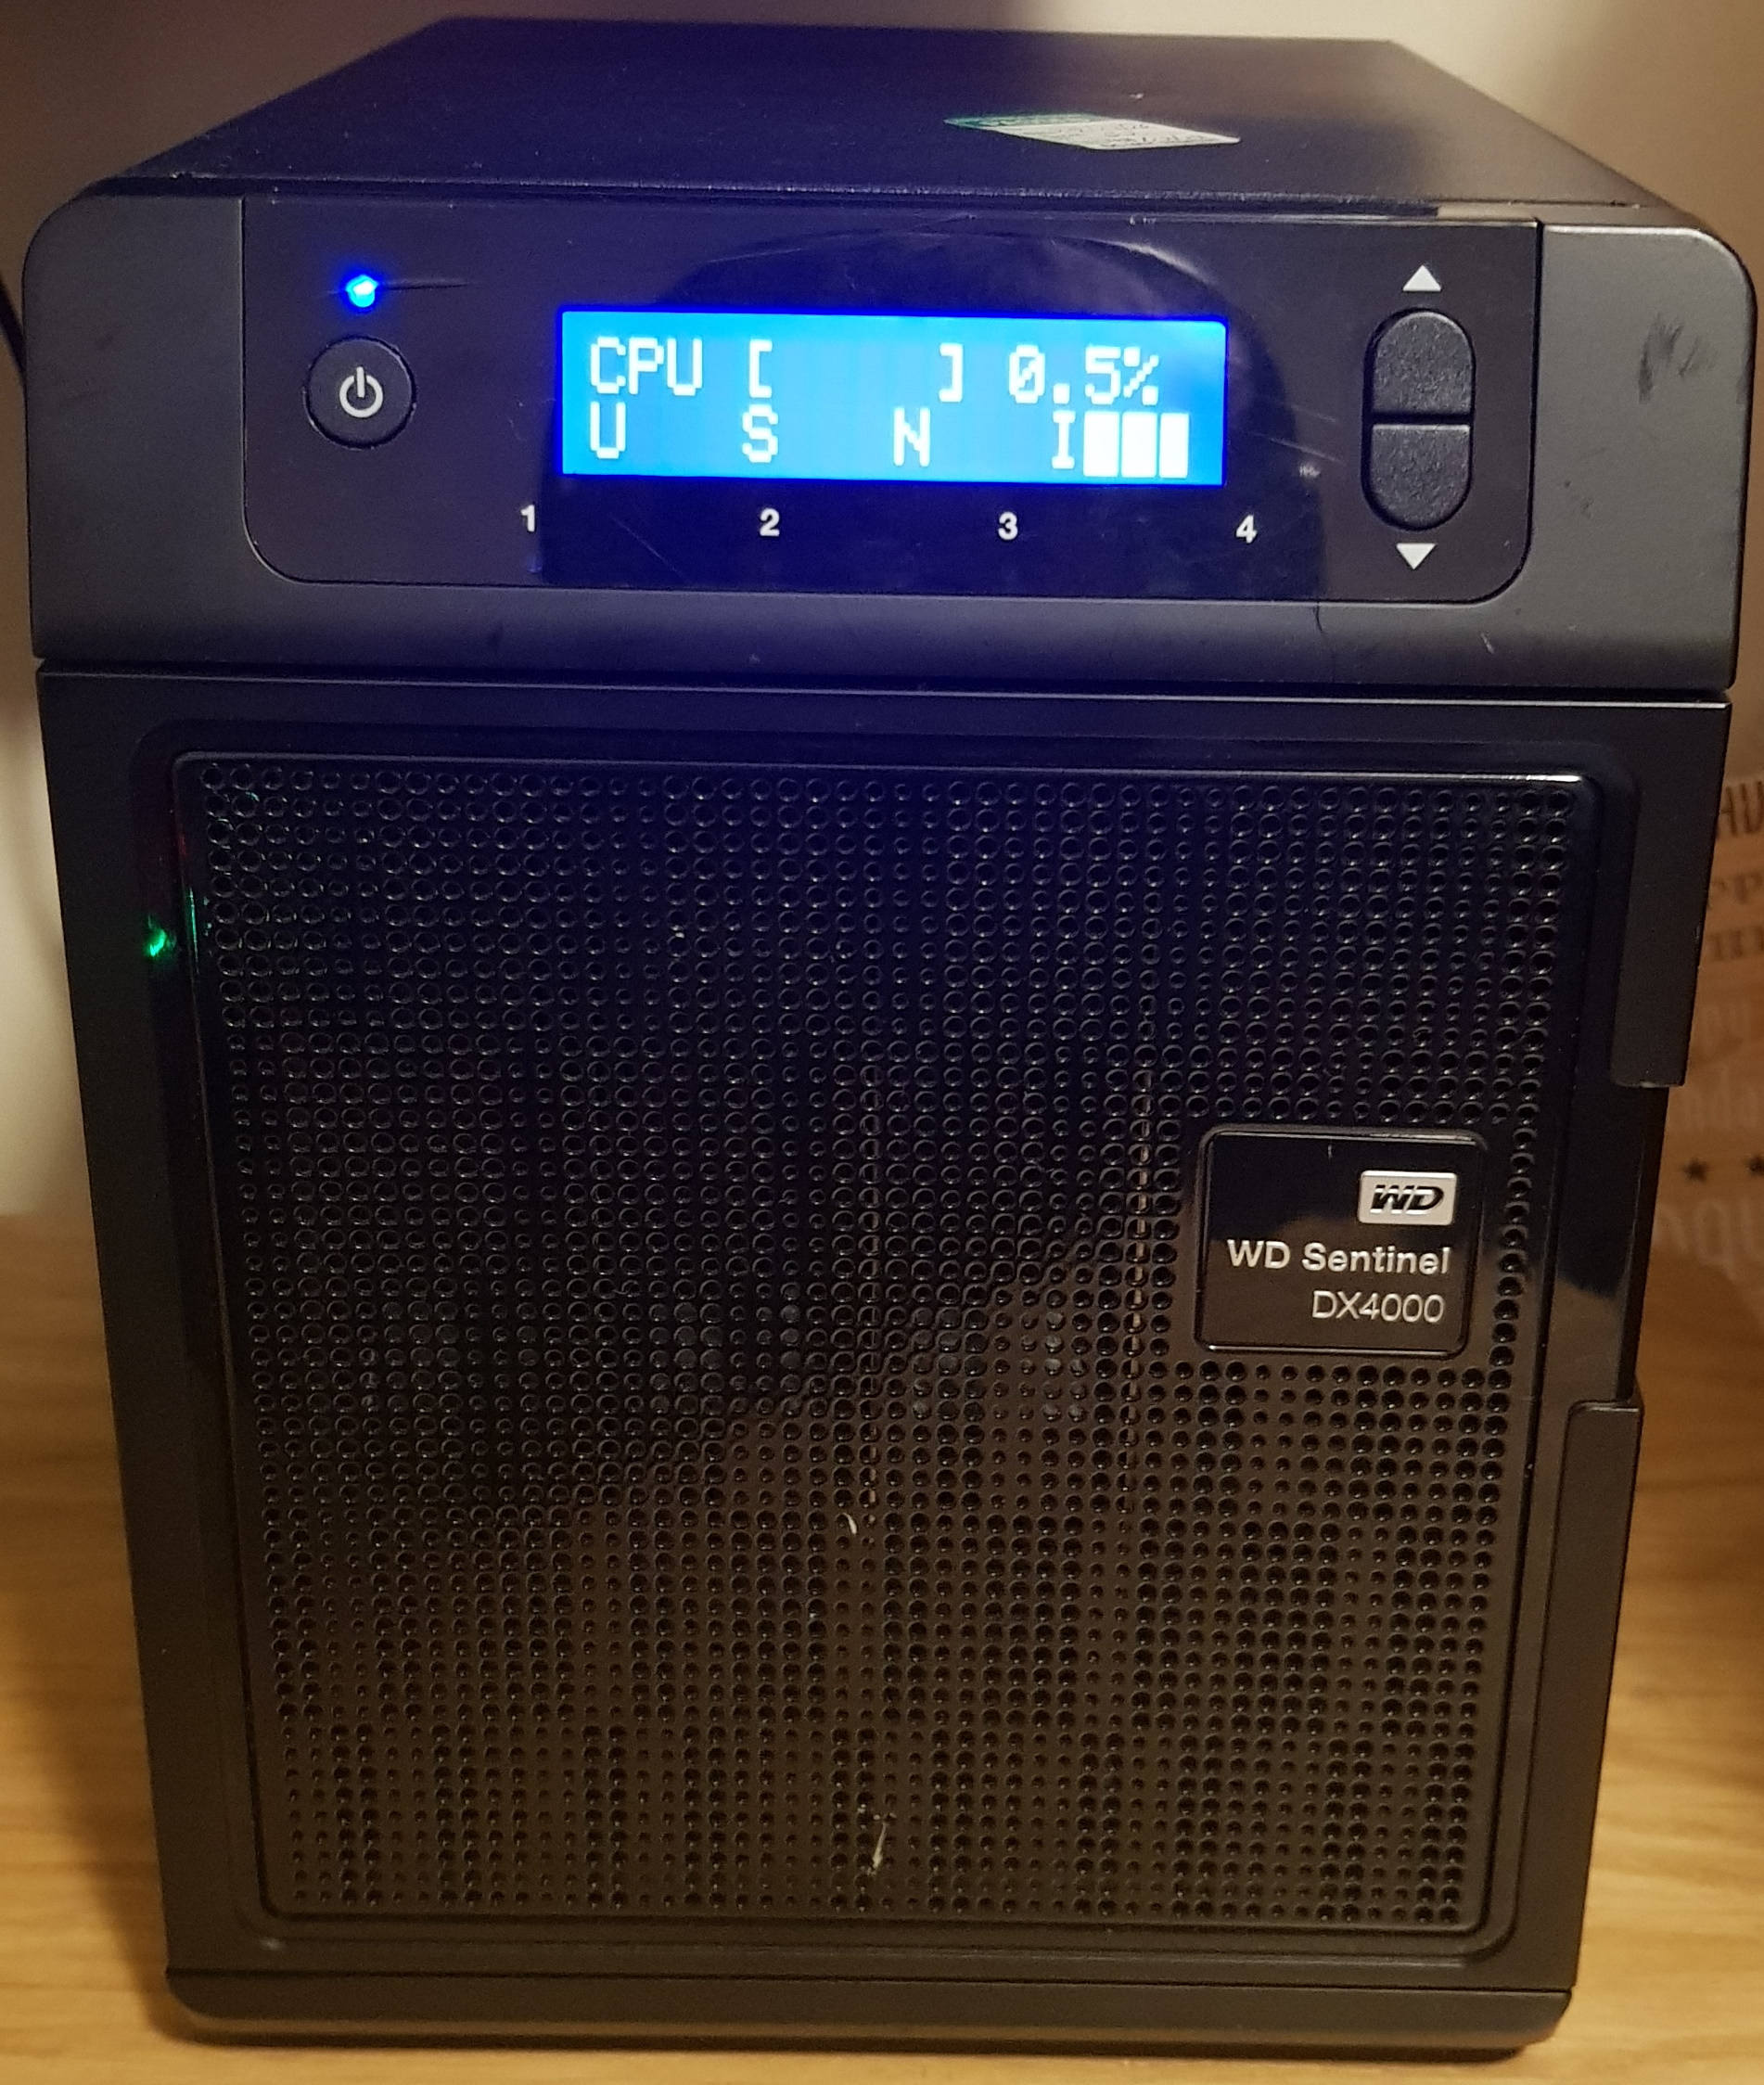
You can start displaying statistics by simply running the lcdproc -f command which shows a series of screens. For more information on available screens use lcdproc -h. Here is an example screen:
You may also want to modify the /lib/systemd/system/lcdproc.service file, which is the lcdproc service file, to increase the brightness of the display and automatically start the statistics, and to kill the statistics and dim the brightness when the service stops. Here's my custom service file as an example:
[Unit]
Description=LCD display daemon
Documentation=man:LCDd(8) http://www.lcdproc.org/

[Service]
User=root
ExecStartPre=bash -c "echo \"255\" > /sys/class/hwmon/hwmon1/pwm3"
ExecStart=/usr/sbin/LCDd -s 1 -f -c /etc/LCDd.conf
ExecStartPost=bash -c "sleep 5 && lcdproc C P M U S K"
ExecStop=bash -c "echo \"128\" > /sys/class/hwmon/hwmon1/pwm3"

[Install]
WantedBy=multi-user.target
TODO