This example demonstrates how you can create short order IDs using Moltin webhooks.
When running this example locally it's recommended you use a service like ngrok to tunnel your dev environment to the outside world.
Once you have the repo running locally, you'll want to add the integration via the Moltin Dashboard. The URL will be the one provided by ngrok.
Clone the repository:
git clone [email protected]:moltin/integration-examples.gitInstall dependencies with Yarn
cd integration-examples/short-order-id
yarnMoltin provides you the ability to extend core resources with the Flows feature. Go to the Moltin Dashboard and navigate to Settings > Flows.
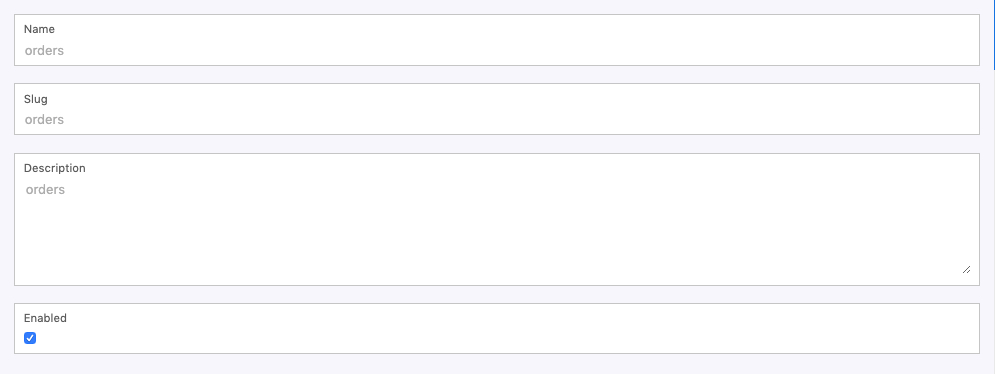
Here you will want to create a new Flow (or edit if it already exists) for extending Orders. Give it a name and description you will recognise, but make sure the slug is set to orders.
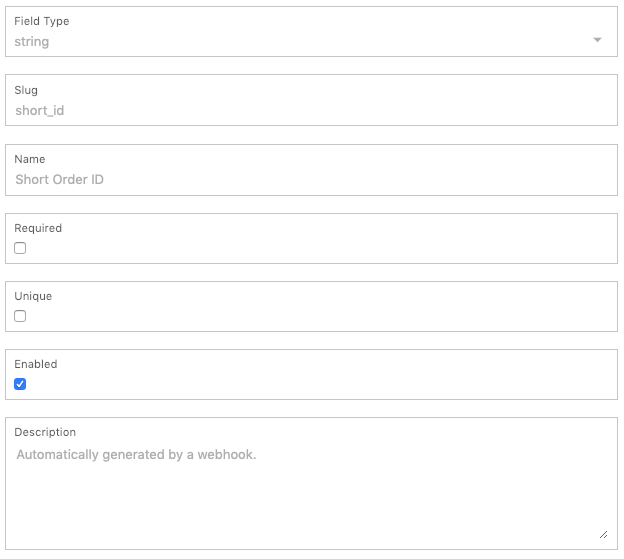
Next you will want to create a new Field for the Flow you just created.
Give the new Field a name and description you will recognise. Make sure the slug is set to short_id as this is what the serverless function expects.
Save this Field
You will want to create an .env inside the directory /short-order-id containing all the keys for the below:
MOLTIN_CLIENT_ID=
MOLTIN_CLIENT_SECRET=
MOLTIN_WEBHOOK_SECRET=
MOLTIN_WEBHOOK_SECRET can be anything you want.
Start the development server
yarn devThe server will typically start on PORT 3000, if not, make a note for the next step.
Start ngrok
ngrok http 3000This will expose PORT 3000 to the outside world. Make a note of the http URL ngrok provides.
You must now tell Moltin the ngrok URL above. Head to the Moltin Dashboard, login and go to Settings > Integrations and click Create.
Enter a name and description for your Integration. We recommend you prefix the name with DEVELOPMENT:.
Next, enter the URL and Secret Key that match those inside .env.
Now finally you'll want to configure when this webhook will be invoked, in this example check the Created box.
That's it! Click Save


