-
Notifications
You must be signed in to change notification settings - Fork 9
Importing an image
One of my motivations for creating Retro Graphics toolkit is to make importing images a simple process and at the same time yielding high quality results.
The first step of importing an image is getting the truecolor data into Retro Graphics Toolkit.
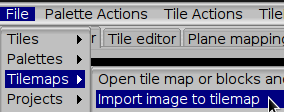
To do this you must first click on File->Tilemaps->Import image to tilemap.

Note that if you image is not a multiple of a tile (8x8 pixels) the image will be centered to make it aligned. The border will be assigned color 0 including alpha.
After importing the image go to the plane mapping editor. You will see a blank image. This is because we have not yet generated a color palette.
To generate a palette you must first click on Palette Actions->Generate optimal palette with x amount of colors.
From there you will be prompted to pick from a choice of algorithms. However note the first menu. The default option “Don’t change anything” is probably not what you want for a first import. Instead the Hue option is usually best. Which one works best depends on the image.
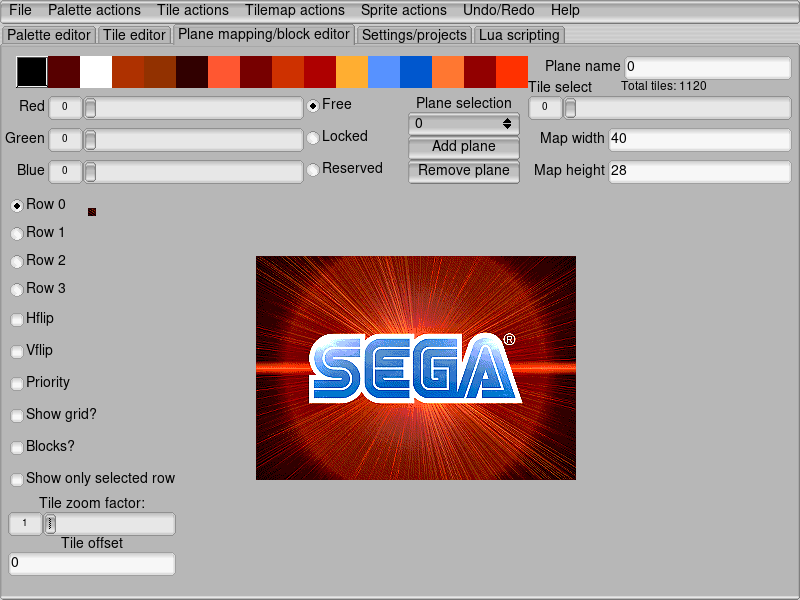
After that you are not done as you can till by the lack of an image. The image still needs to be dithered to fit the palette. You can do this by going to TileMap actions->Dither tilemap as image. Again pick the settings that result in the best looking image. After that you are done.
Here is an example image that I used it is based on https://raw.githubusercontent.com/ComputerNerd/Retro-Graphics-Toolkit/master/Docs/src/sega.png which is downscaled from https://raw.githubusercontent.com/ComputerNerd/Retro-Graphics-Toolkit/master/Docs/src/SEGA_logo.png I made the image except the Sega text. Feel free to reuse the Sega logo.
