--Maven installed in your PC (https://maven.apache.org/)
--Java installed in your PC (https://adoptopenjdk.net/releases.html)
1.1- If you are an existing user please this link to Login: https://ibm.biz/appsecurity
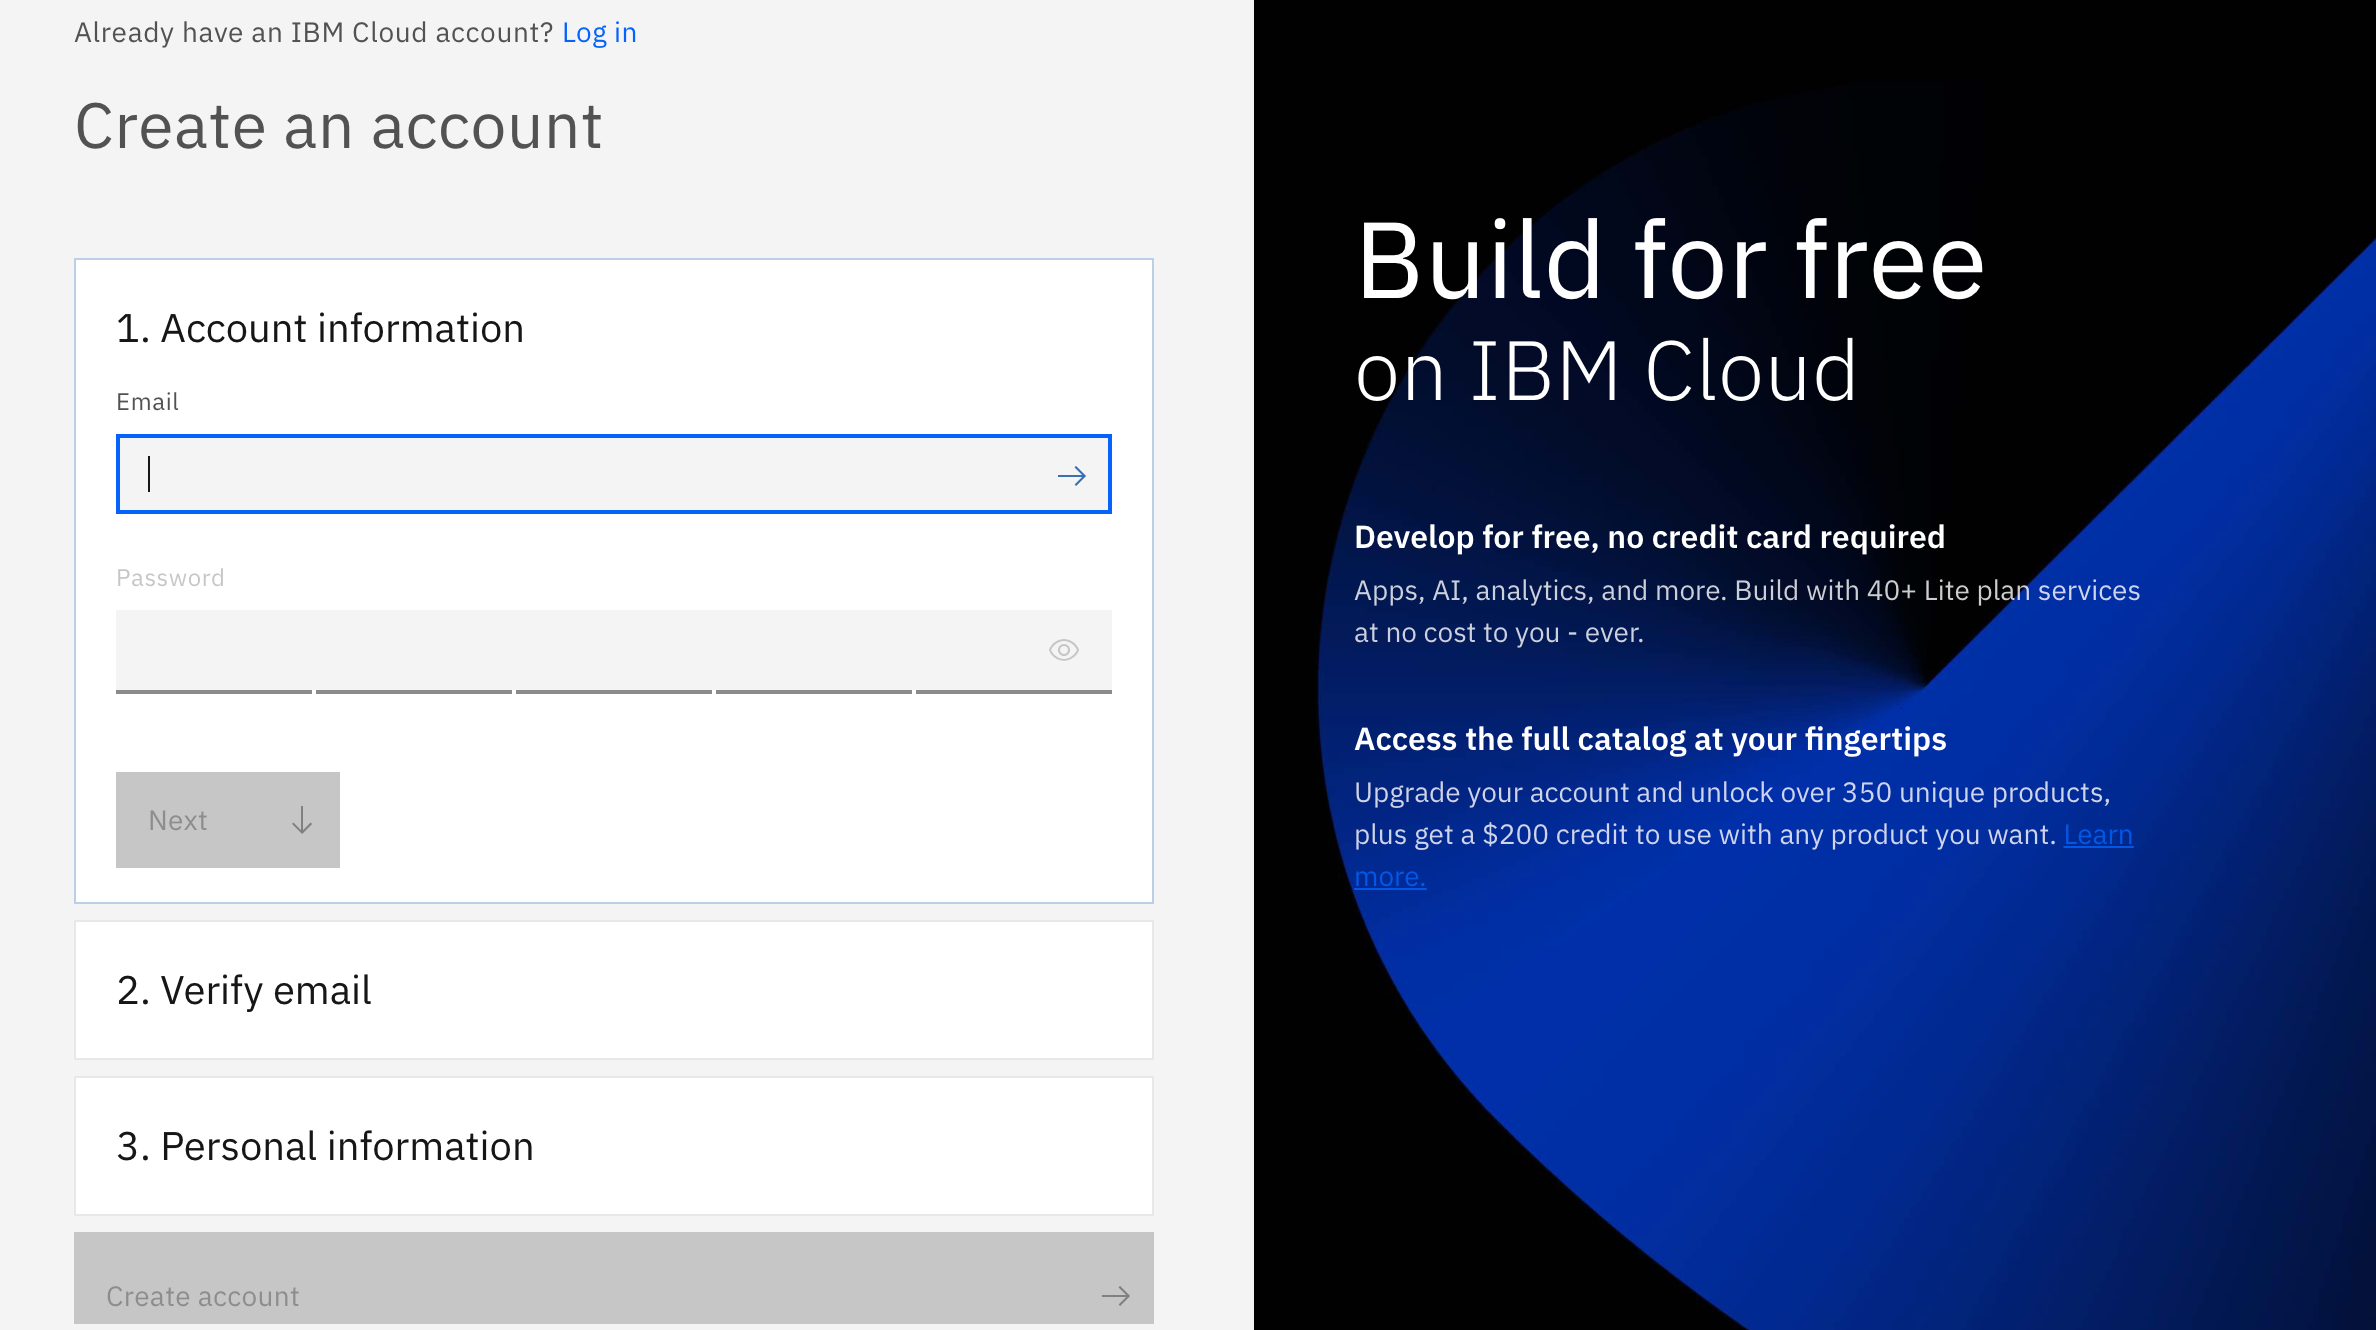
And if you are not, don't worry! We have got you covered! There are 3 steps to create your account on IBM Cloud:
1.2- Put your email and password.
1.3- You get a verification link with the registered email to verify your account.
1.4- Fill the personal information fields.
** Please make sure you select the country you are in when asked at any step of the registration process.
2.1- In the search bar type "App ID", click the instance from search result, it will take you to a new window. Click create botton to start your App ID instance
2.2- Click create botton to start your App ID instance
Go to Spring Initializr page and generate a Maven project with default specifications. Click on generate to download the project. Unzip the file to a path of your choice.
From workshop's Git Repository click on code and download zip file. Unzip the file to a path of your choice.
4.1 - From App ID Dashboard, select Applications in the left pane, click on add a new application.
4.2 - Give your application a unique name and click on create.
4.3 - Click on “View credentials” to display the application credentials.
4.4 - Edit the Spring Initializr project you created in step 3, and add the application credentials to configure App ID by going to path -> src/main/resources/application.yml file with the following property names:
      spring:
         security:
           oauth2:
            client:
             registration:
              appid:
              clientId: <<clientId>>
              clientSecret: <<clientSecret>>
            region: <<region>>
          tenantId: <<tenantId>>
5.1 - Go to Manage Authentication > Authentication Settings and Add http://localhost:8080/login/oauth2/code/appid as your web redirect URL.
6.1 - From your project go to your pom.xml file and add the following dependencies
<dependencies>
<!-- App ID Starter-->
<dependency>
    <groupId>com.ibm.cloud.appid</groupId>
    <artifactId>appid-spring-boot-starter</artifactId>
    <version>0.0.5</version>
 </dependency>
    <dependency>
    <groupId>org.springframework.boot</groupId>
    <artifactId>spring-boot-starter-web</artifactId>
</dependency>
<!-- adding jquery as a dependency, this will be used by the front-end UI -->
<dependency>
    <groupId>org.webjars</groupId>
    <artifactId>jquery</artifactId>
    <version>2.1.1</version>
</dependency>
<!-- webjars-locator-core used by Spring to locate static assets in webjars without needing to know the exact versions -->
<dependency>
    <groupId>org.webjars</groupId>
    <artifactId>webjars-locator-core</artifactId>
</dependency>
<dependency>
    <groupId>org.webjars</groupId>
    <artifactId>js-cookie</artifactId>
    <version>2.1.0</version>
</dependency>
<dependency>
    <groupId>org.webjars</groupId>
    <artifactId>bootstrap</artifactId>
    <version>3.2.0</version>
</dependency>
Create a SecurityConfiguration.java class, and add the following code:
@Configuration
@EnableWebSecurity
   public class SecurityConfiguration extends WebSecurityConfigurerAdapter {

  @Override
    protected void configure(HttpSecurity http) throws Exception {
    http
    .authorizeRequests()
    .antMatchers("/login**", "/user", "/userInfo").authenticated()
    .and()
    .oauth2Login();
}
}
8.1 - To add REST endpoints, create a UserController.java class, and add the following code:
  @RestController
    public class UserController {

@RequestMapping("/user")
public Principal user(@AuthenticationPrincipal Principal principal) {
    // Principal holds the logged in user information.
    // Spring automatically populates this principal object after login.
    return principal;
}

@RequestMapping("/userInfo")
public String userInfo(@AuthenticationPrincipal Principal principal) {
    return String.valueOf(principal);
}
}
9.1 - Create index.html file in /appid-spring-boot-example/src/main/resources/static, and add the following code, which shows the logged-in user information:
        <!DOCTYPE html>
          <html lang="en">
       <head>
            <meta charset="UTF-8">
          <meta name="viewport" content="width=device-width, initial-scale=1.0">
          <title>Spring Boot App ID Sample</title>
          <link type="text/css" href="css/style.css" rel="stylesheet" />
          <script type="text/javascript" src="/webjars/jquery/jquery.min.js"></script>
         <script type="text/javascript" src="/webjars/js-cookie/js.cookie.js"></script>
           <script type="text/javascript">
             $.ajaxSetup({
            beforeSend : function(xhr, settings) {
                if (settings.type == 'POST' || settings.type == 'PUT' || settings.type == 'DELETE' || settings.type == 'GET') {
                    if (!(/^http:.*/.test(settings.url) || /^https:.*/.test(settings.url))) {
                        // Only send the token to relative URLs i.e. locally.
                        xhr.setRequestHeader("X-XSRF-TOKEN", Cookies.get('XSRF-TOKEN'));
                    }
                    xhr.setRequestHeader("X-XSRF-TOKEN", Cookies.get('XSRF-TOKEN'));
                }
            }
        });
        $.get("/user", function(data) {
            if (data.principal != null) {
                $("#user").html(data.principal.attributes.name);
                $("#userSub").html(data.principal.attributes.sub);
                $("#userEmail").html(data.principal.attributes.email);
                $("#provider").html(data.principal.attributes.identities[0].provider);
                $(".unauthenticated").hide();
                $(".authenticated").show();
            } else {
                $(".unauthenticated").show();
                $(".authenticated").hide();
            }
        }).fail(function() {
            $(".unauthenticated").show();
            $(".authenticated").hide();
        });

        <!-- In this case, we will call GET /userInfo, and this will give us back a string with userinfo details from Principal user -->
        $.get("/userInfo", function(data) {
            if (data.includes("Principal")) {
                $("#userInfoString").html(data);
                $(".unauthenticated").hide();
                $(".authenticated").show();
            } else {
                $(".unauthenticated").show();
                $(".authenticated").hide();
            }
        }).fail(function() {
            $(".unauthenticated").show();
            $(".authenticated").hide();
        });
    </script>
</head>
<body>
    <div class="container unauthenticated" style="text-align: center;">
        <a href="/login">Login</a>
    </div>
    <div class="container authenticated" style="text-align: center;" >
        <strong>Logged in as: <span id="user"></span></strong>
        <br>
        <br>
        <strong>Sub: </strong><span id="userSub"></span>
        <br>
        <strong>Email: </strong><span id="userEmail"></span>
        <br>
        <strong>Provider: </strong><span id="provider"></span>
        <br>
        <br>
        <strong>User Profile Information: </strong>
        <br>
        <span id="userInfoString"></span>
        <br>
        <br>
   </div>
</body>
Your Spring Boot project should now look like:
10.1 - Build and run your app using the following commands:
mvn clean
mvn package spring-boot:run
10.2 After the application is running, open a browser, and go to http://localhost:8080. It will take you to a login screen.
-
Login/Sign Up for IBM Cloud: https://ibm.biz/appsecurity
-
Workshop Replay: https://www.crowdcast.io/e/journey-to-low-code-no-code-app-security-2
- https://developer.ibm.com/patterns/deploy-a-microservices-app-to-ibm-cloud-code-engine/
- https://developer.ibm.com/patterns/build-digital-bank-microservices-kubernetes/
- https://developer.ibm.com/patterns/deploy-spring-boot-microservices-on-kubernetes/
- Securely Manage access to your Applications Sensitive Data on IBM Cloud
- https://www.crowdcast.io/e/journey-to-low-code-no-code-app-security-3
