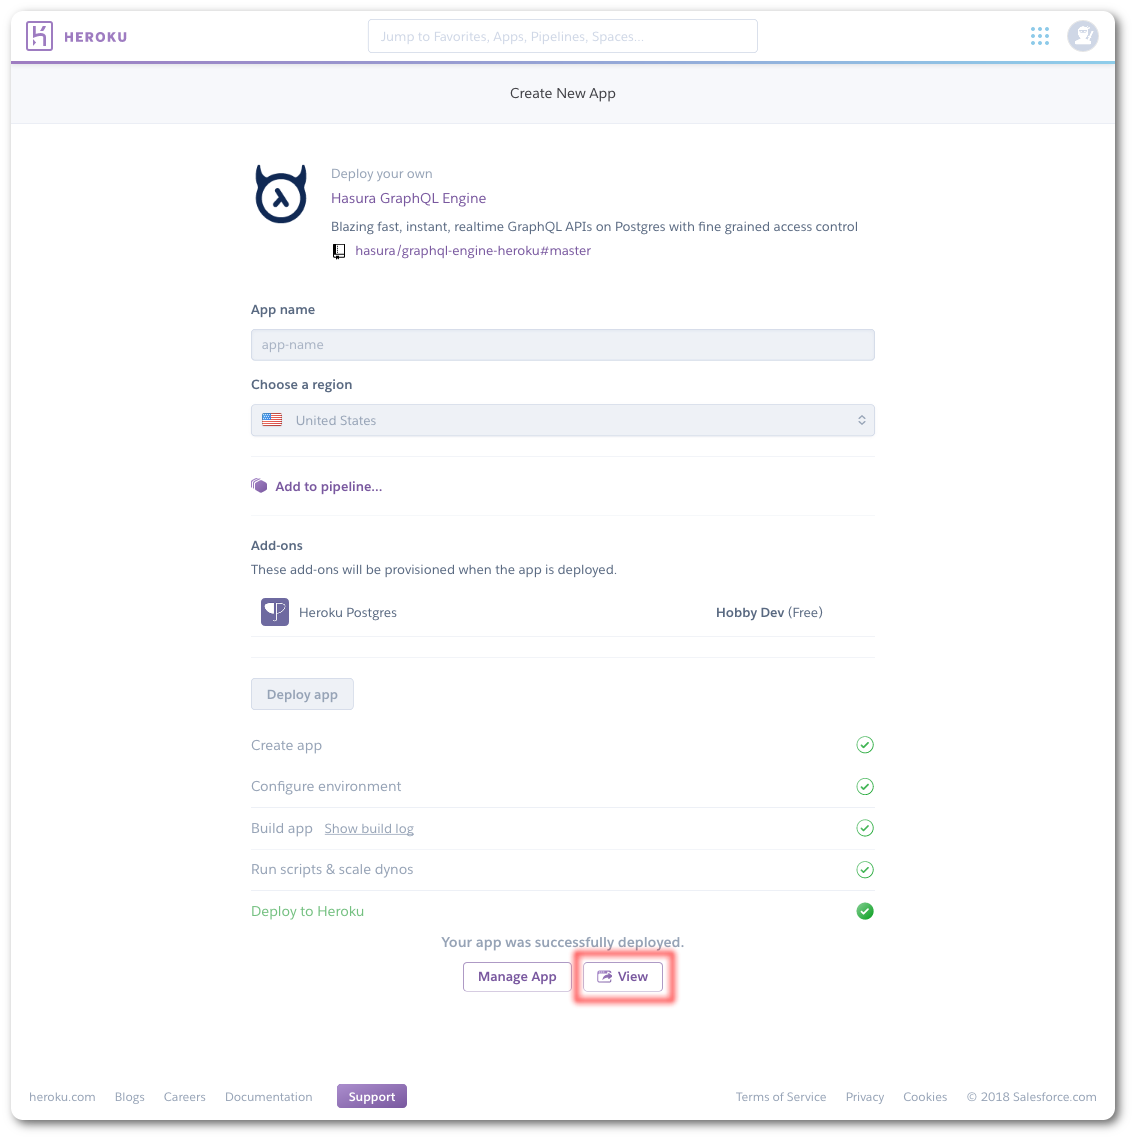
We will work with your Heroku app, if you haven't created a Heroku app already then you can deploy using:

-
From the Heroku app dashboard (
dashboard.heroku.com/apps/<my-app-name>), navigate to the Settings tab -> Reveal config vars. -
Add a new config var:
HASURA_GRAPHQL_ADMIN_SECRET: adminsecret
In case you prefer to work locally with docker containers instead:
Use docker-compose up -d
View your new Hasura GraphQL Engine Console at http://localhost:8080 (admin secret from docker-compose.yaml: adminsecret)
Note: To end a session, use docker-compose down -v
- Head to the Data tab and go to the Run SQL window
- Run northwind_ddl.sql
- Run northwind_data.sql
From the Heroku app dashboard (dashboard.heroku.com/apps/<my-app-name>), navigate to the Settings tab -> Reveal config vars -> DATABASE_URL. Use the following command:
psql <DATABASE_URL> < northwind_ddl.sql
psql <DATABASE_URL> < northwind_data.sql
or, lacking psql, use the following with the heroku CLI: (might need to run heroku login first):
heroku pg:psql -a <my-app-name> < northwind_ddl.sql
heroku pg:psql -a <my-app-name> < northwind_data.sql
Use the following command to set up initial tables and data into your postgres container:
psql postgres://postgres:mypassword@localhost:6432/postgres < northwind_ddl.sql
psql postgres://postgres:mypassword@localhost:6432/postgres < northwind_data.sql
If you do not have psql available, you can copy the northwind_ddl.sql and northwind_data.sql file to the postgres container and execute the psql command via inside it:
Note: You can find <postgres-container-ID> with docker ps
docker cp northwind_ddl.sql <postgres-container-ID>:/
docker cp northwind_data.sql <postgres-container-ID>:/
docker exec -ti <postgres-container-ID> /bin/bash
psql -U postgres < northwind_ddl.sql
psql -U postgres < northwind_data.sql

Return to the Hasura GraphQL Engine console and select the Data tab. In the central view, there should be a section "Untracked tables or views" with several tables listed and a "Track All" option available. Select "Track All", and then "Track All" again for untracked foreign-key relations.
Now you're all set! You should see your tables listed in the left-hand panel.
Go to the Graphiql tab and start trying out queries, mutations, and subscriptions.
The Northwind dataset includes sample data for the following.
- Suppliers: Suppliers and vendors of Northwind
- Customers: Customers who buy products from Northwind
- Employees: Employee details of Northwind traders
- Products: Product information
- Shippers: The details of the shippers who ship the products from the traders to the end-customers
- Orders and Order_Details: Sales Order transactions taking place between the customers & the company
Table: Customer, Order, Shipper Role: customer
Rules:
- Customer can only select their own row in customer table
- Customer can get their orders.
- Customers can't view the employee_id of the order.
- Customer can view the phone number of their shippers.
Table: employees Role: employee, hr
Rules:
- Employee can see and edit their own information.
- Employee can see the information of their reportees.
- HRs can see and edit information of all employees
Table: products role: api
Rules:
- Only consumers with valid api key can see the products table
A role is a collection of permissions. Permissions determine what operations are allowed on a resource. When you grant a role to a user, all permissions in the role are automatically granted to the user.
Hasura has role-based schemas.
Attributes are values that are associated with a user or resource.
Hasura can use user attributes and data attributes
- Action
- Resource
- Condition
https://hasura.io/blog/authorization-rules-for-multi-tenant-system-google-cloud/
- Every resource type has a role: Access to Google cloud storage buckets is controlled using storage_admin, storage_editor, storage_viewer roles
- Every resource instance also has a role: Each bucket has a storage_admin, storage_editor, storage_viewer role associated with it