-
Notifications
You must be signed in to change notification settings - Fork 44
Case 5 Single Implant
patmo141 edited this page Jun 24, 2018
·
2 revisions
For this case, we will build off of the block graft case from earlier. Open the case, and save a copy as "lastname_implant_guide.blend"
- Import the tooth_roots.stl and Model UpperJaw.stl (or open Case5_0.blend)
- Plan a single implant at tooth position 11 by using the "Plan Multiple" function
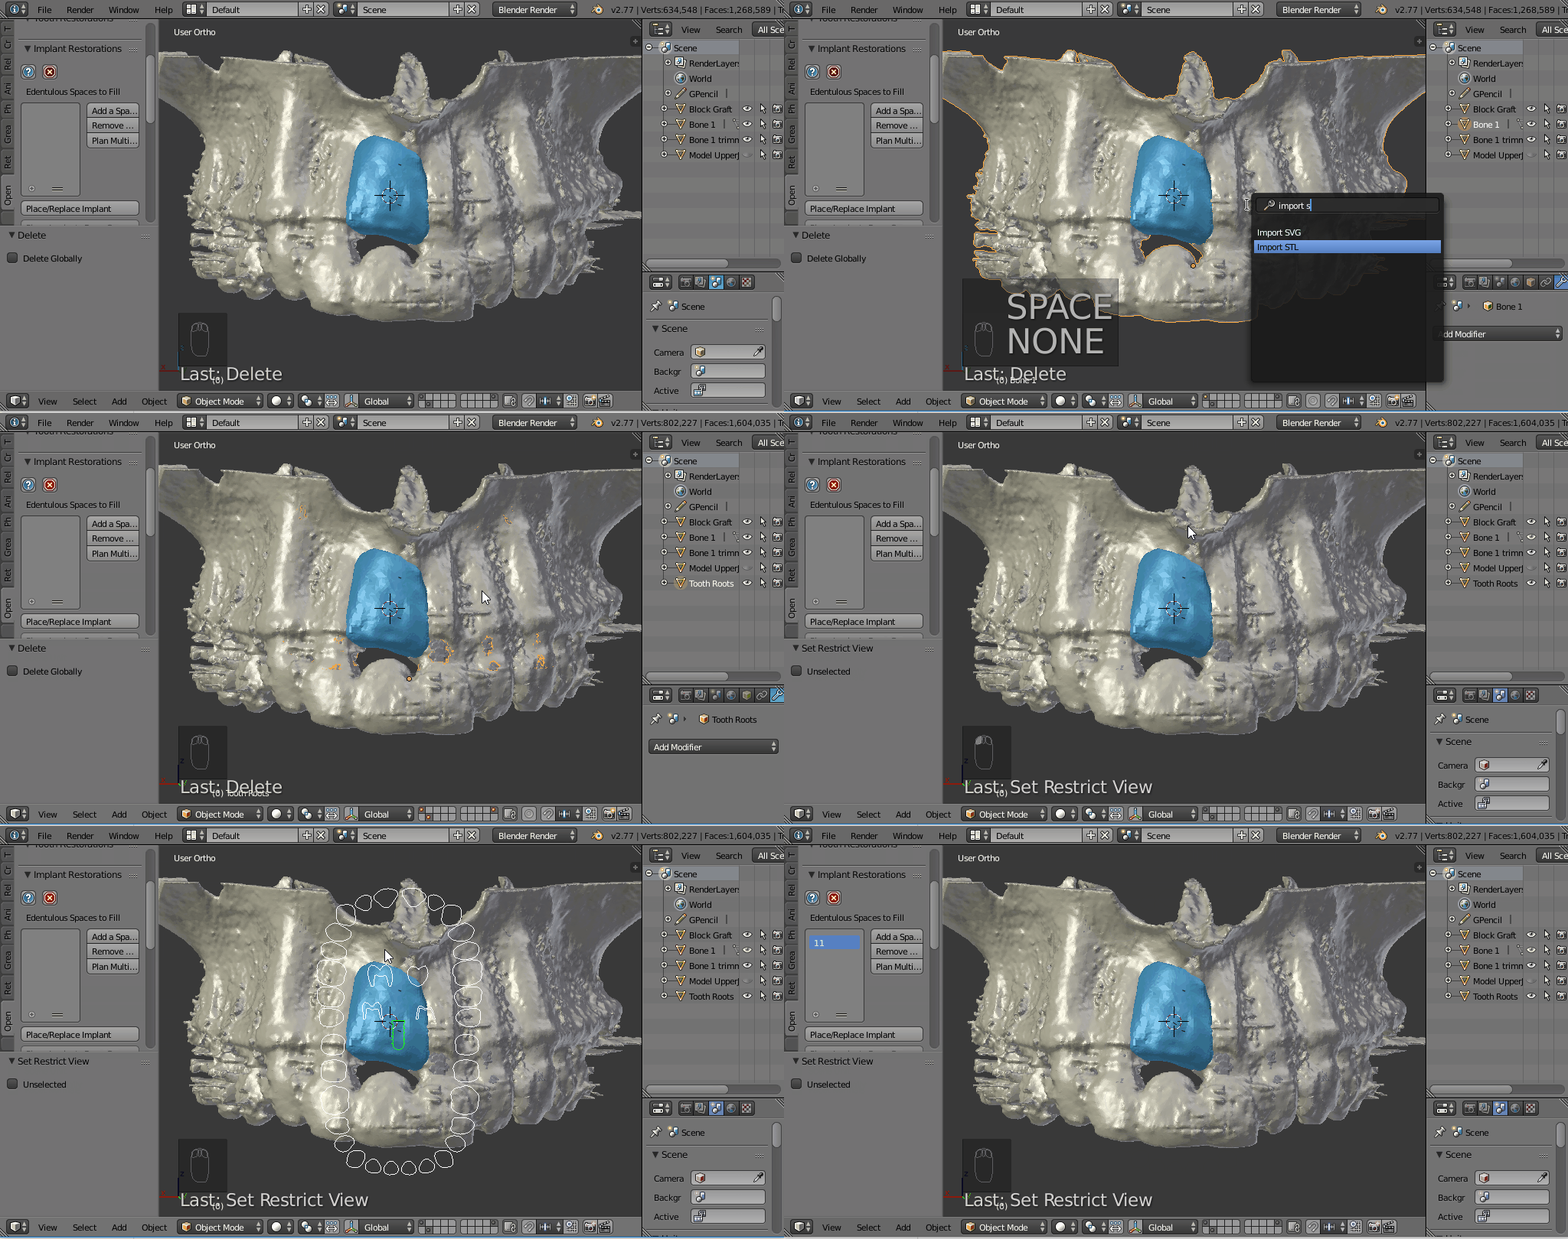
- Place the 3D cursor at the depth of extraction site #11
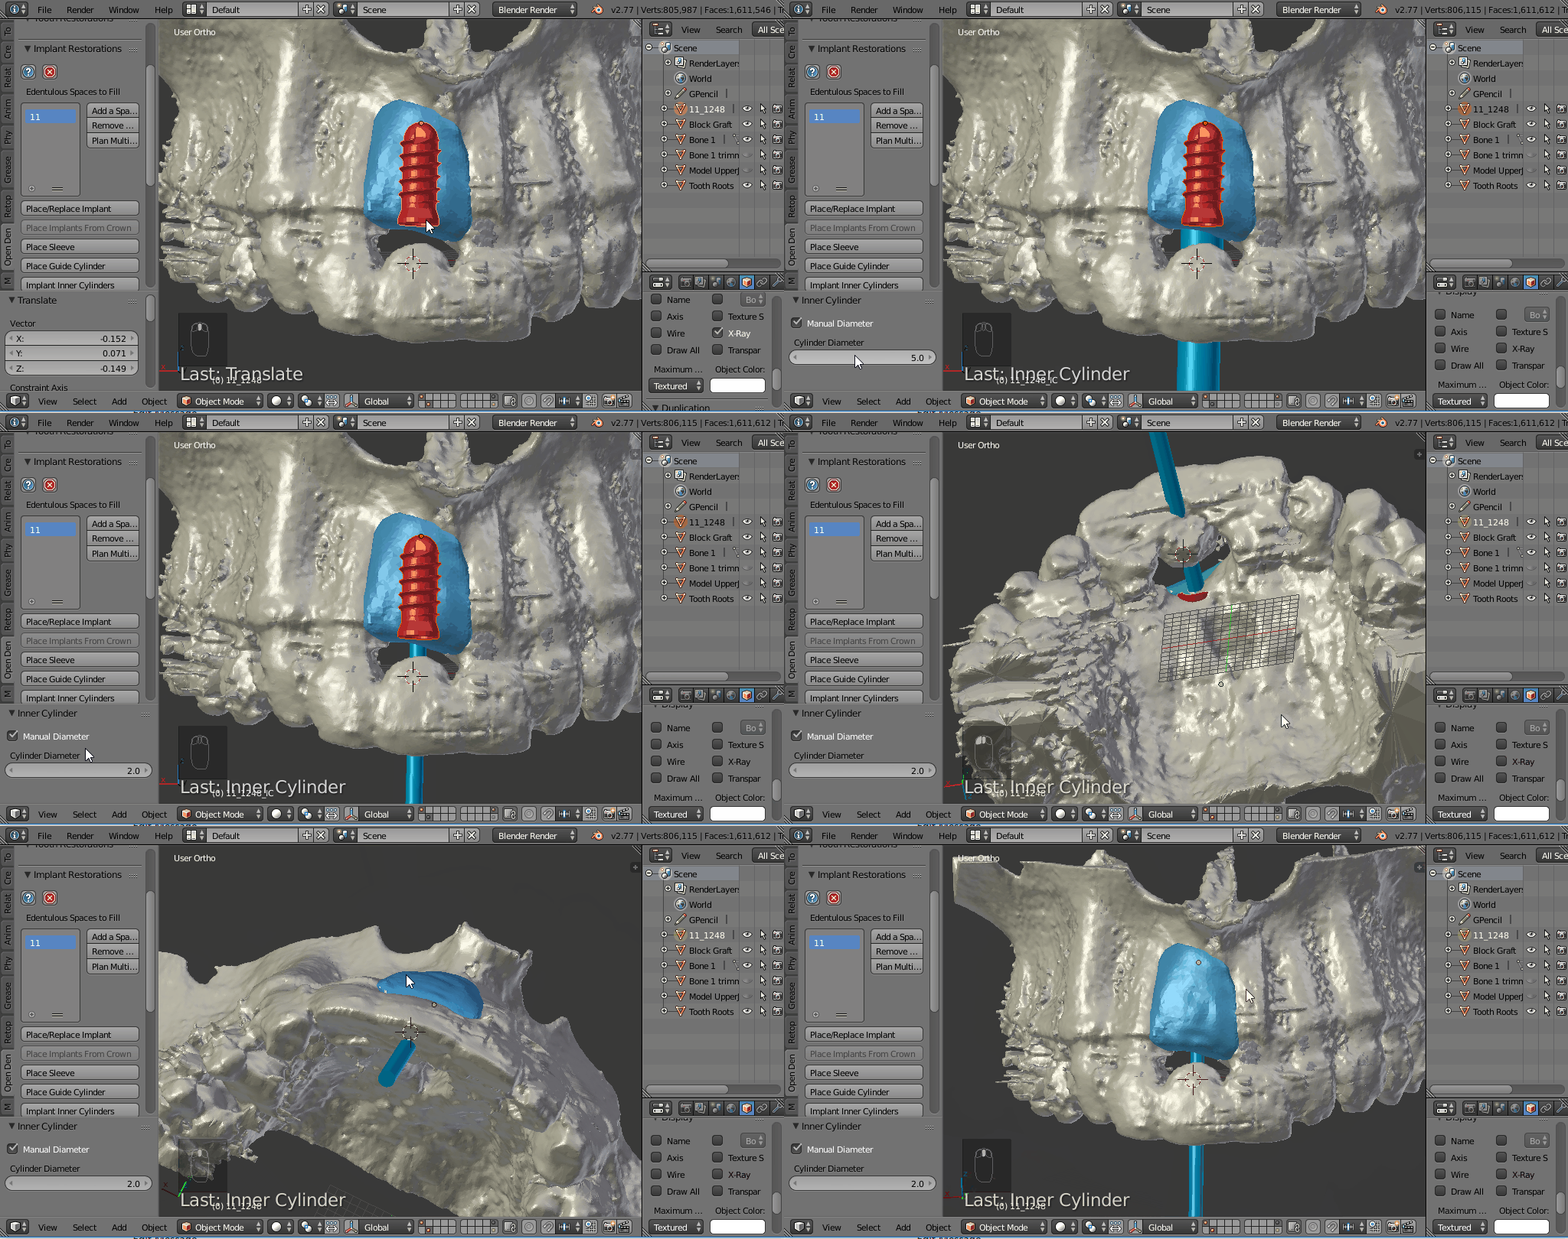
- Use the "Place/Replace Implant" tool to insert an implant
- Use 'Alt+B', rotate, grab, constrained grab to position the implant

This will help us with final positioning of the implant, to be able to visualize the access hole.
- Select the implant and use the "Inner Cylinder" function
- You can adjust the diameter of the cylinder in the Undo/Redo panel
- Adjust the implant location/angulation as necessary
-
Case5_1.blend has all of these steps complete)
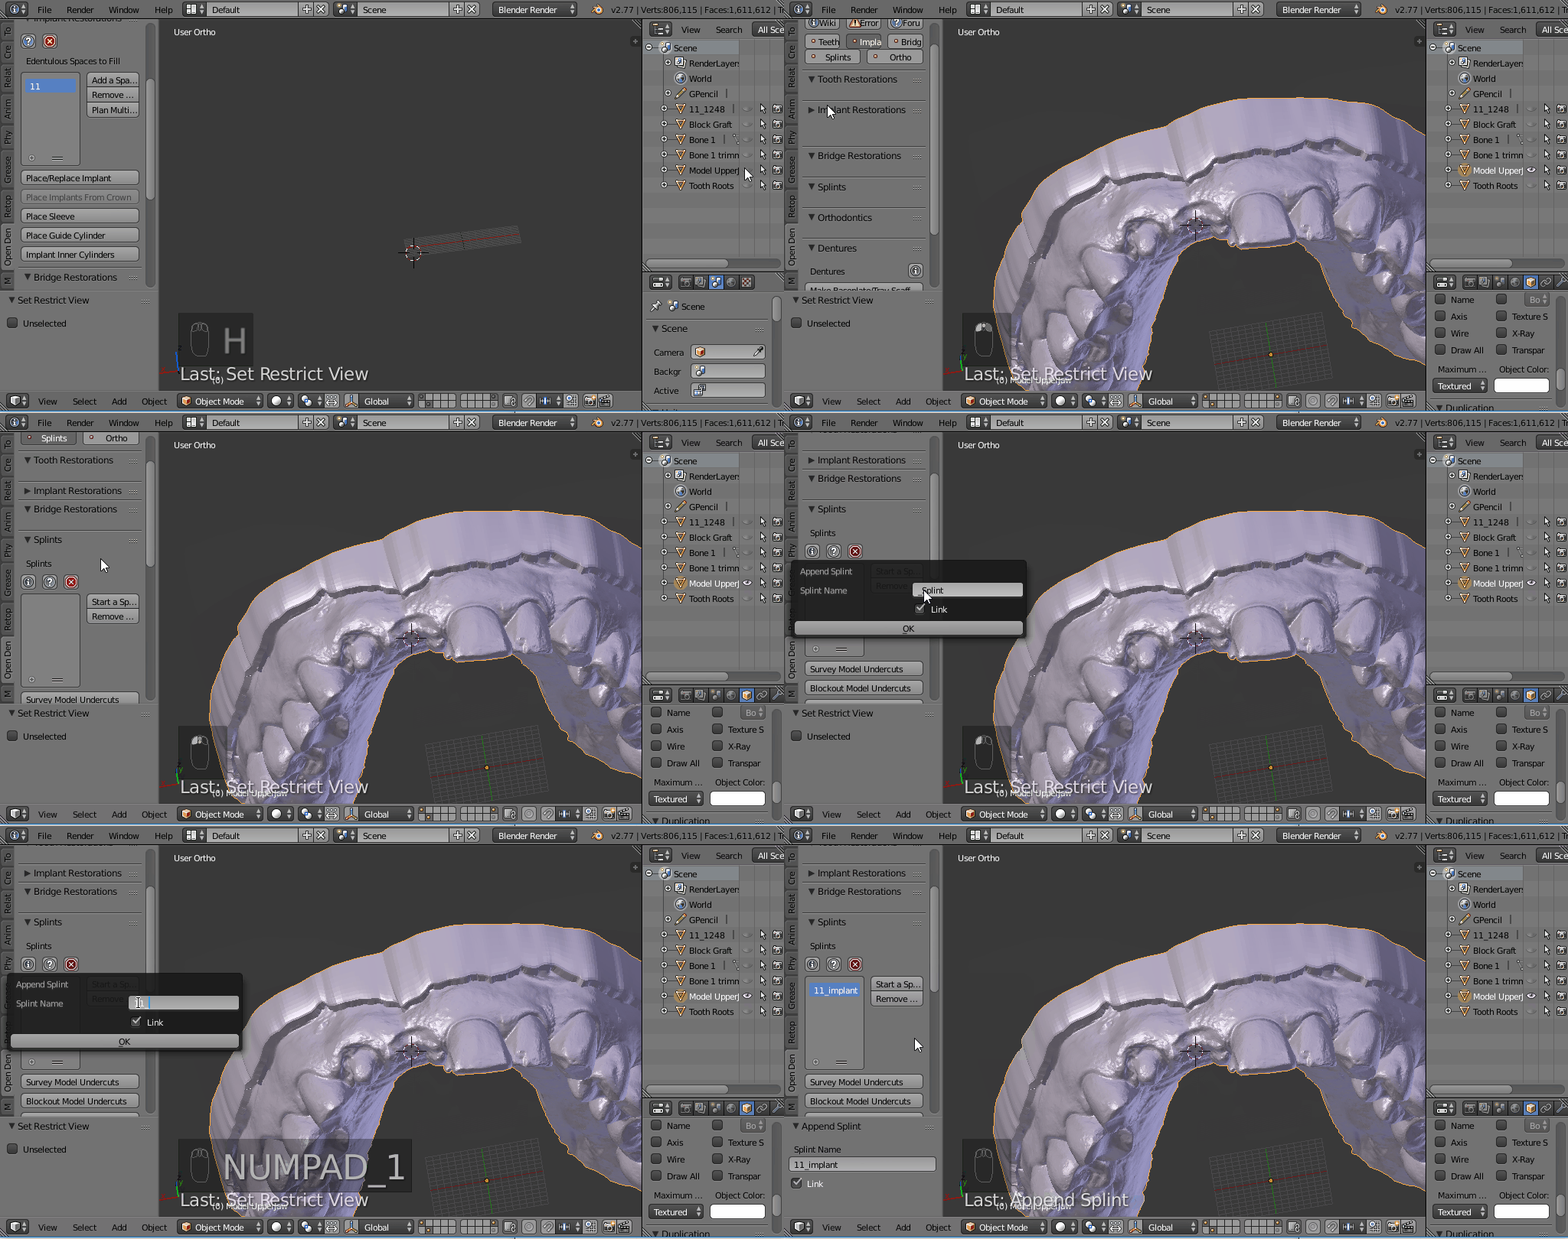
- Hide the other models
- Select the model that represents the intraoral scan
- Navigate to the "Splints" panel
- Add a splint (make sure the link to selected box is checked) and name it
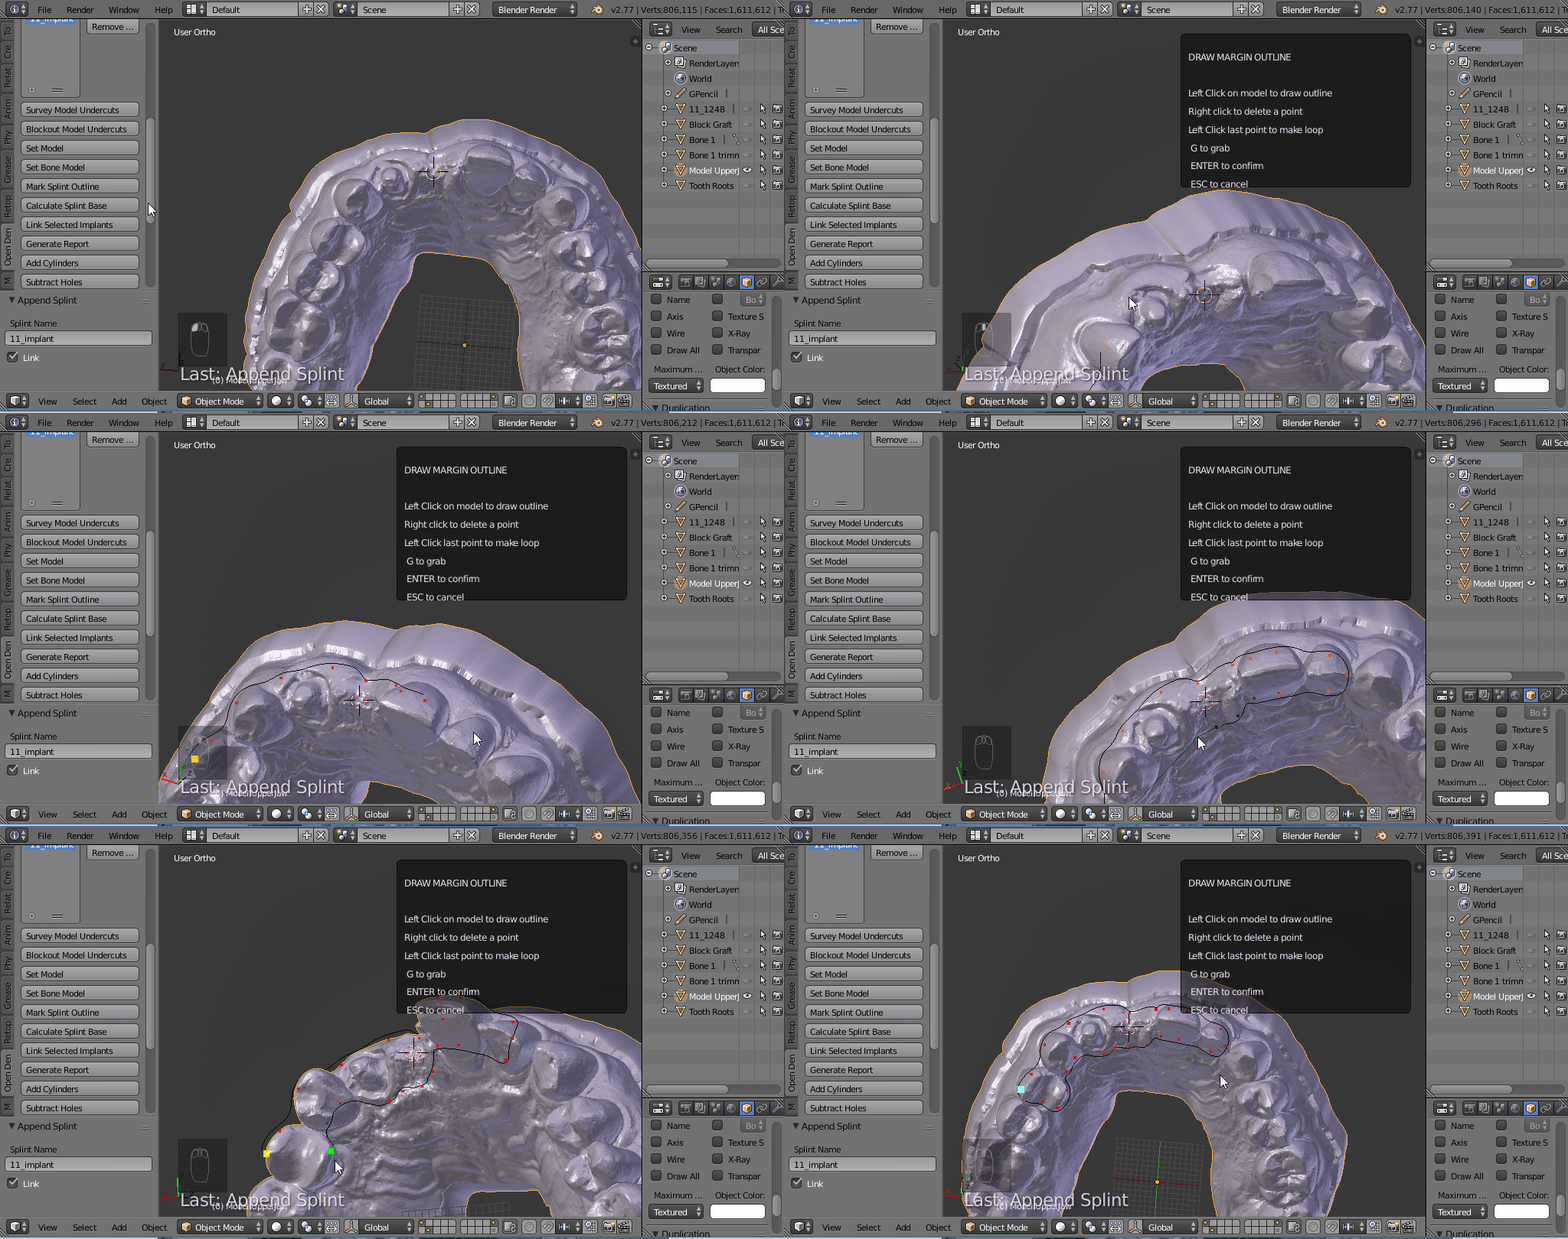
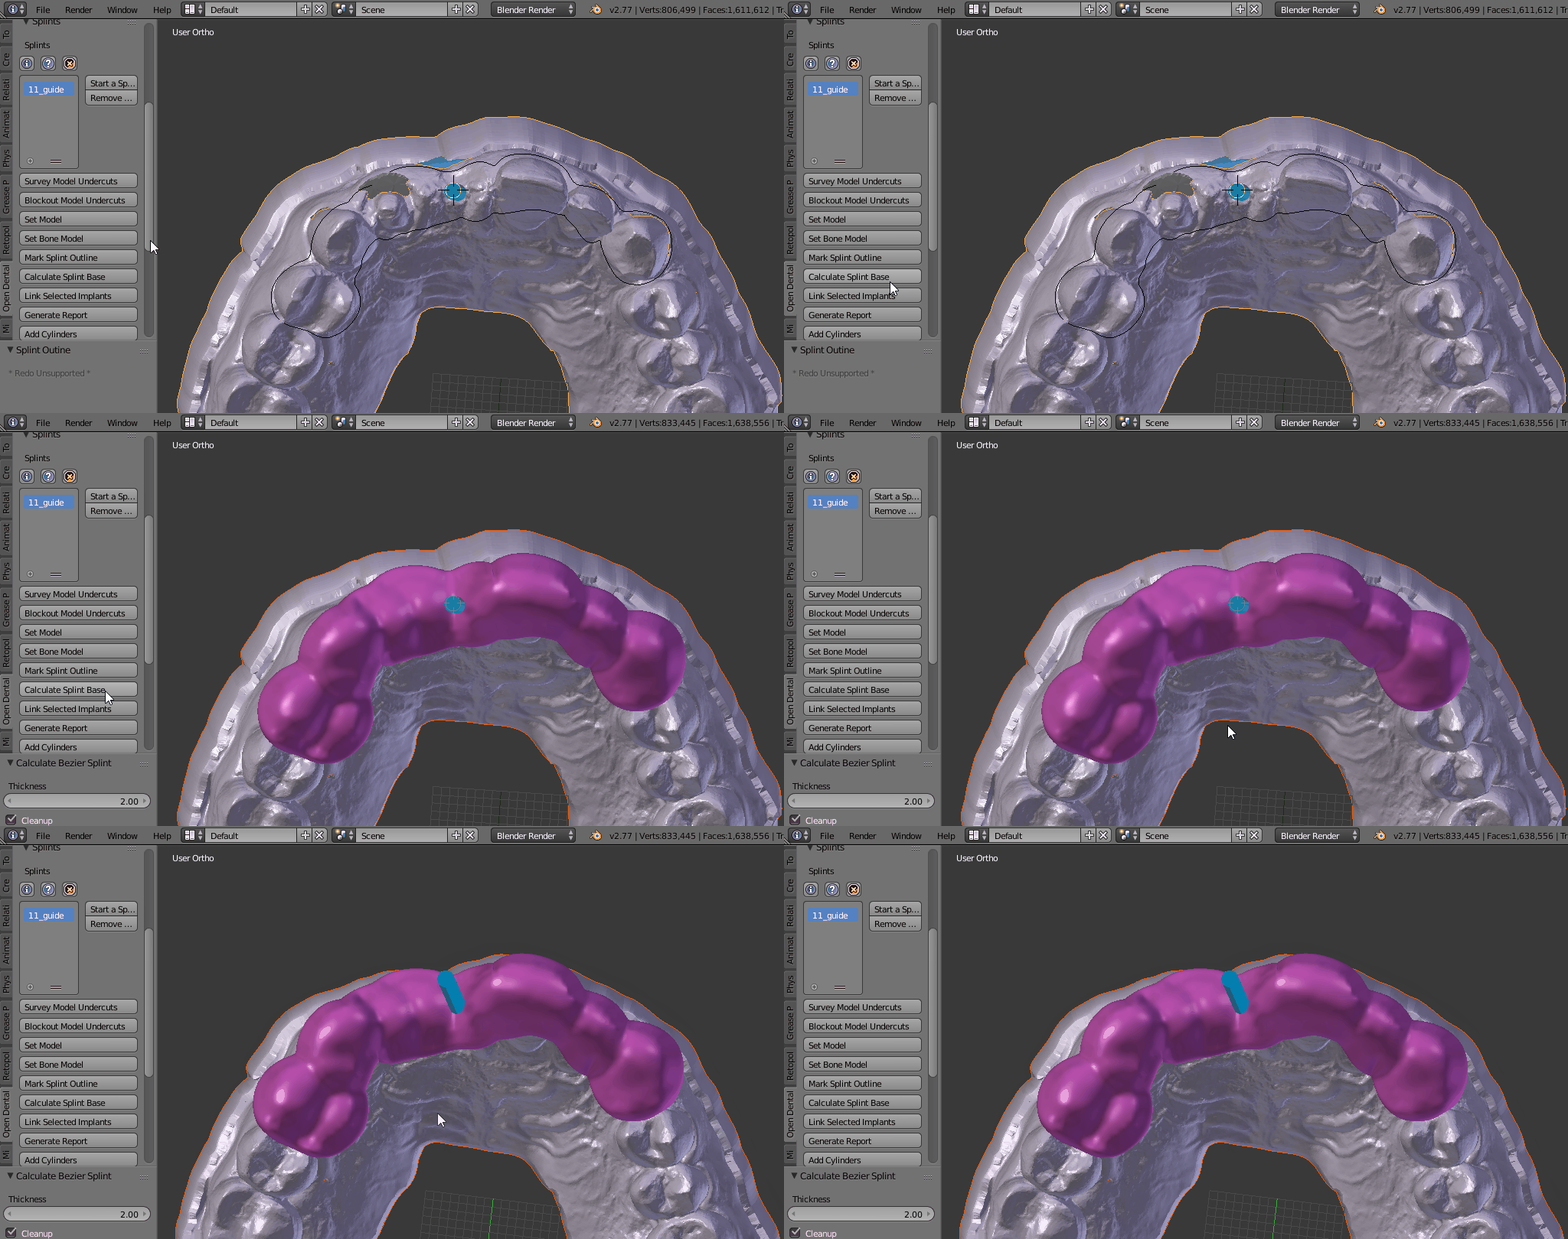
- Press "Mark Splint Outline" to initate a drawing mode
- 'Left Mouse' along the model to draw the splint
-
'Right Mouse' on any point to delete it
- Change the view to look directly down on the model
- Press "Calculate Splint Base"
- It is very important for this step that your view matches the direction of the insertion axis!
-
Case5_2.blend has this step completed
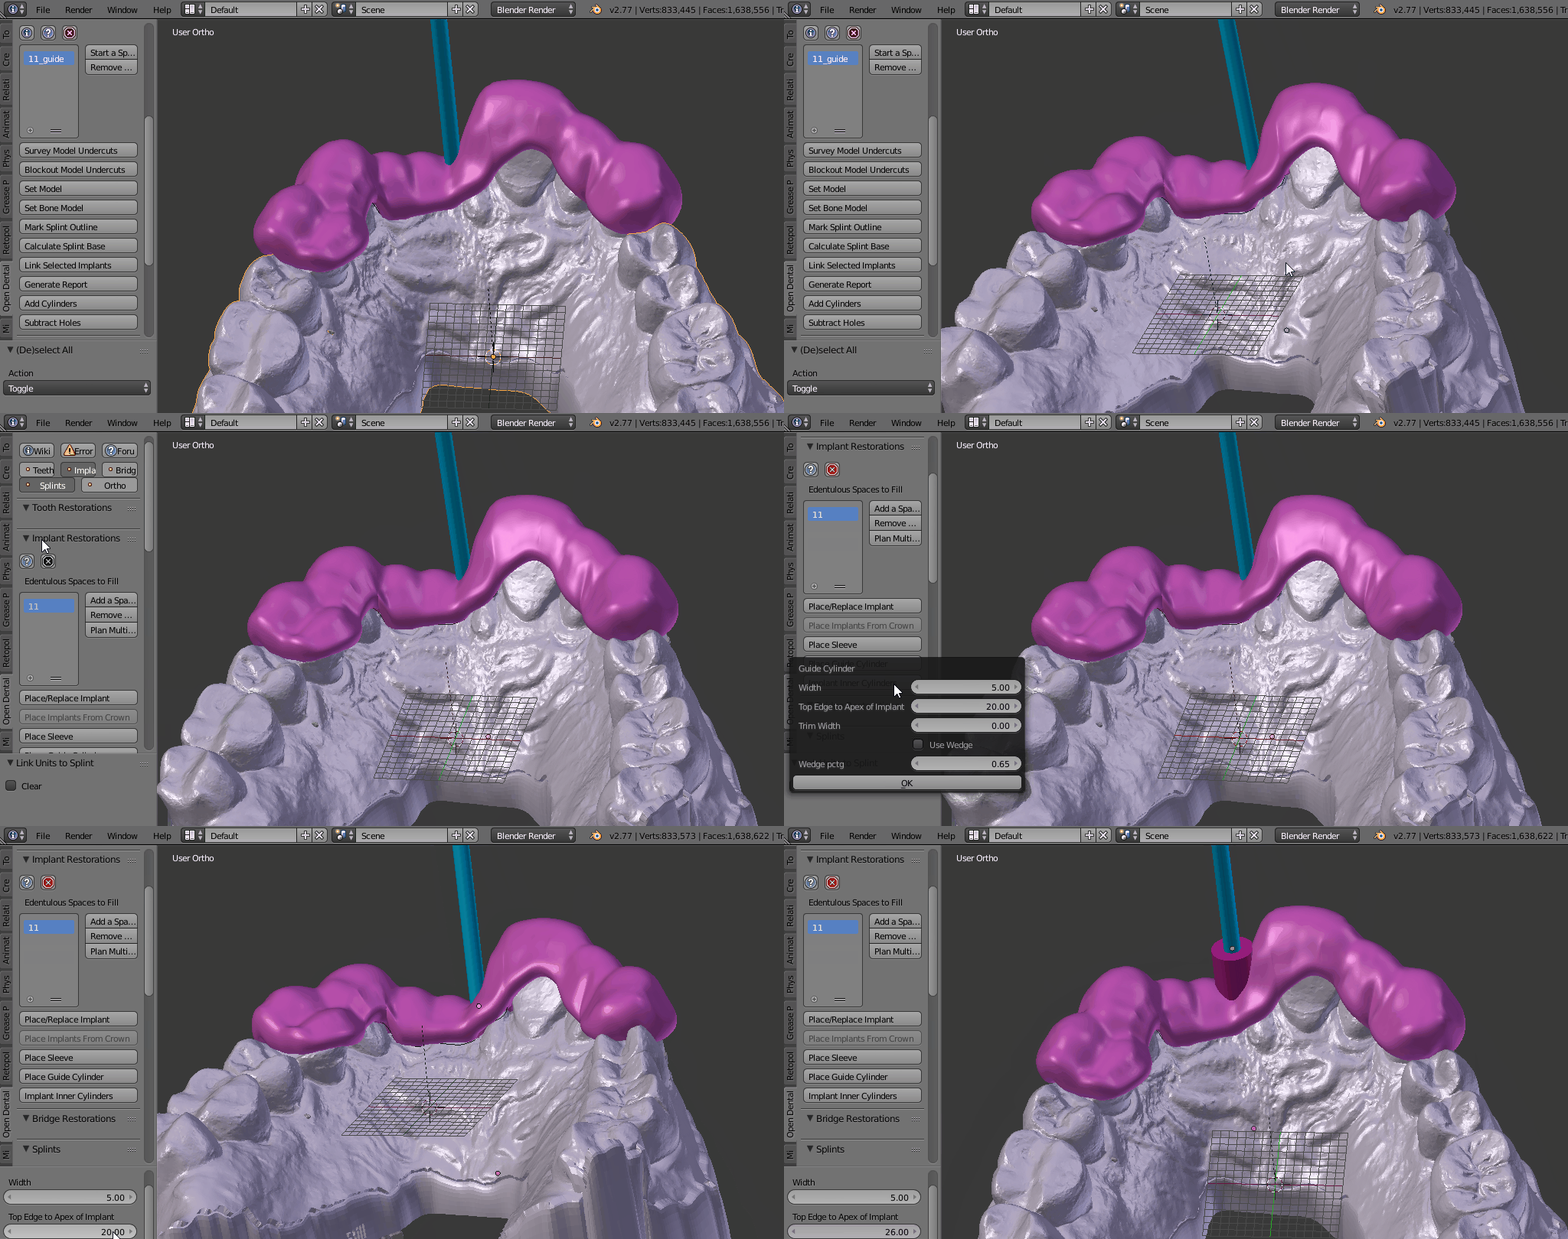
- Select the implant and press "Link Selected Implants" in the Splint Panel
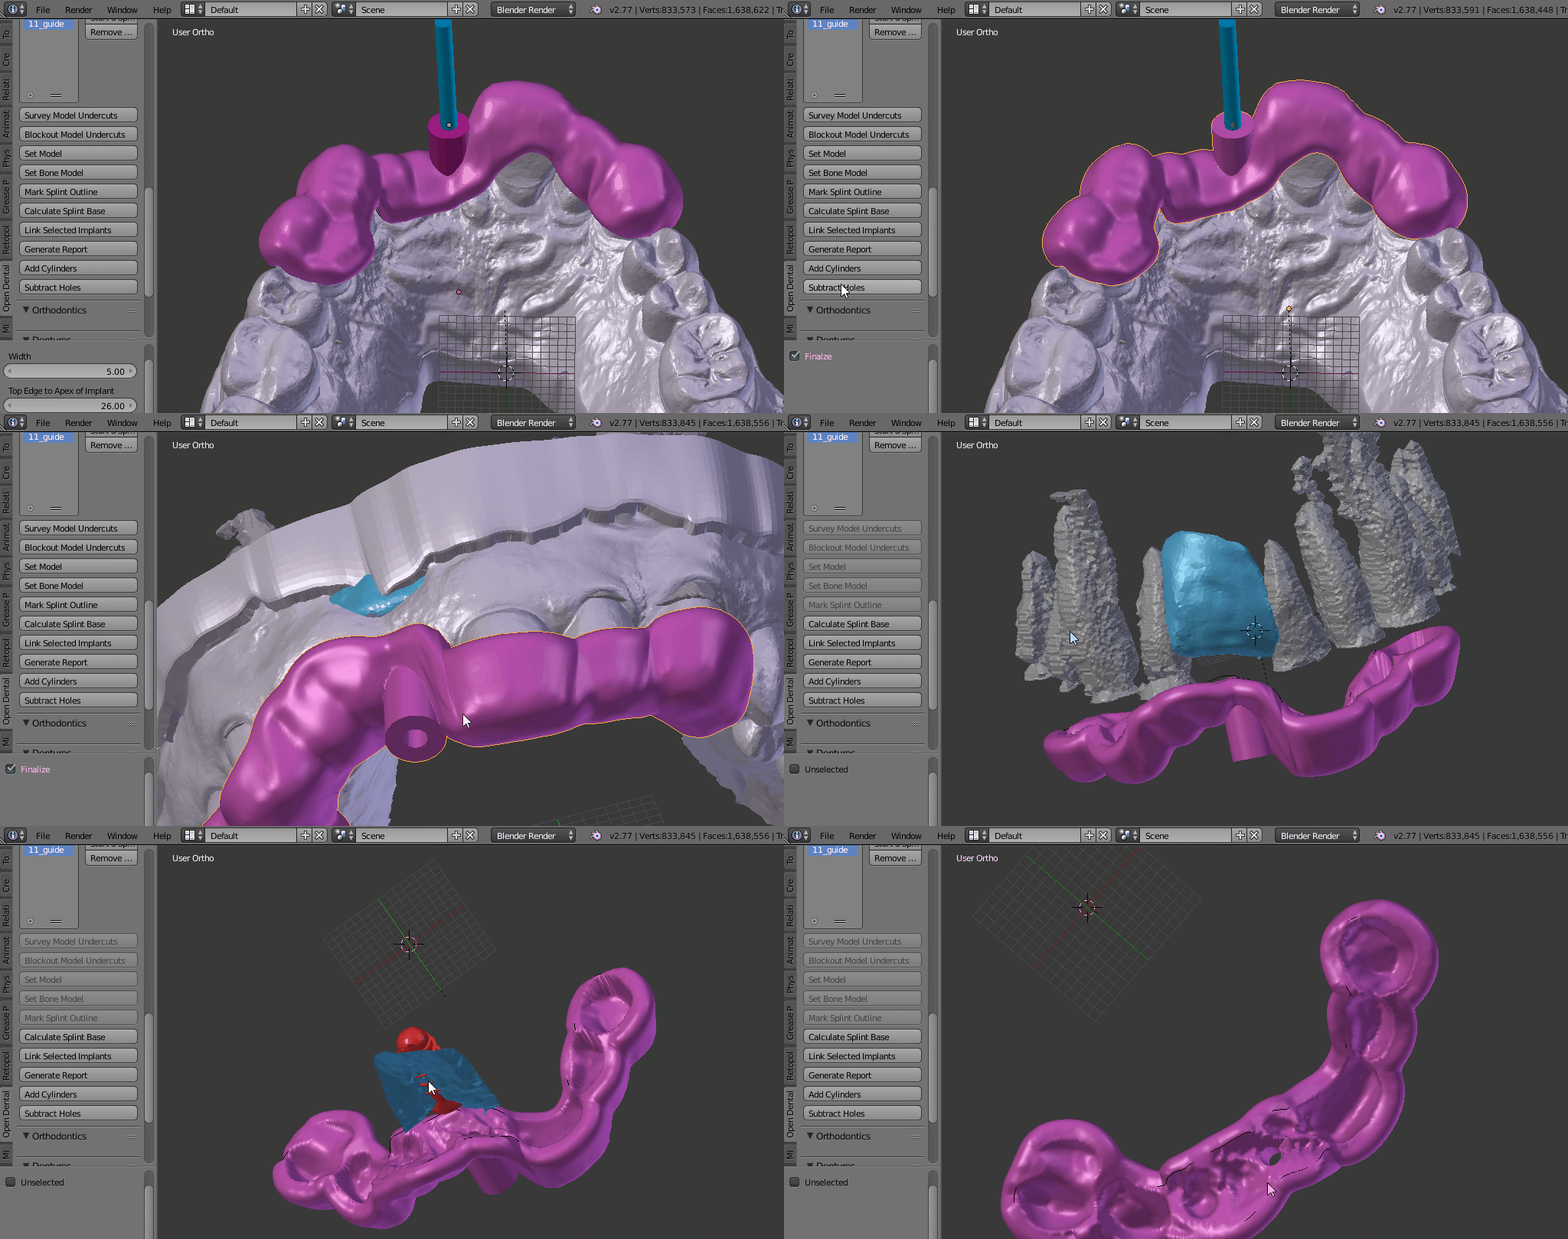
- Then in the Impalant Panel press "Place Guide Cylinder"
- Use the Undo/Redo panel to control the distance from the top of the cylinder to the apex of implant
- Use the constrained grab (G + Z + Z) to re-position the top of the cylinder if needed
-
Case5_3.blend has this step completed
- Single Unit Crown
- 3 Unit Bridge
- Single Implant Guide
- Arch Planning
- Die and Model Repair
- Cutbacks
- Implant Temporary