-
Notifications
You must be signed in to change notification settings - Fork 44
Install Intermediate
##Installation for Easy Frequent Updating or Developing##
This may seem like a lot for the regular user, but if you want an easy way to quickly update the addon, setting it up this way will save you a lot of time. It makes installing the latest version of the addon as simple as a button click and restarting blender. Furthermore, if you don't like the update, it makes reverting back to previous versions of the addon just as easy! Here is how you do it.
1.Install Blender
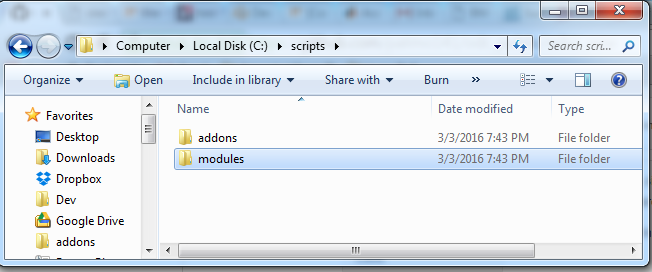
2.Set up a "scripts" folder somewhere on your computer. It should contain two sub-folders: "addons" and "modules"

3.Tell Blender where that scripts folder is.

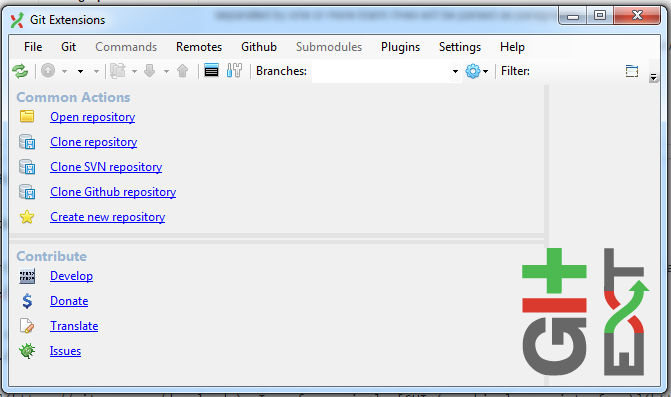
4.Install GIT. I prefer a simple GUI (graphical user interface) like GitExtensions.

5.Clone the project into the addons folder you set up in step 2.
Using the GUI:

Or Using Command Line:
cd C:/scripts/addons
git clone https://github.com/patmo141/odc_public odc_public

-
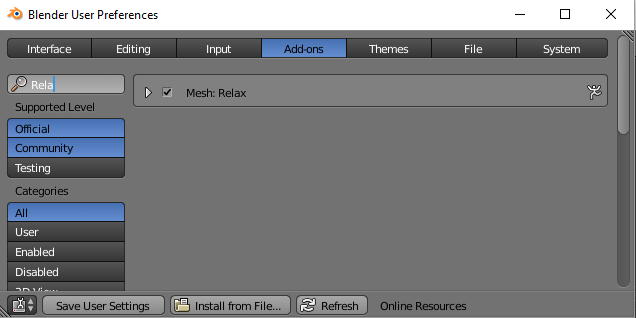
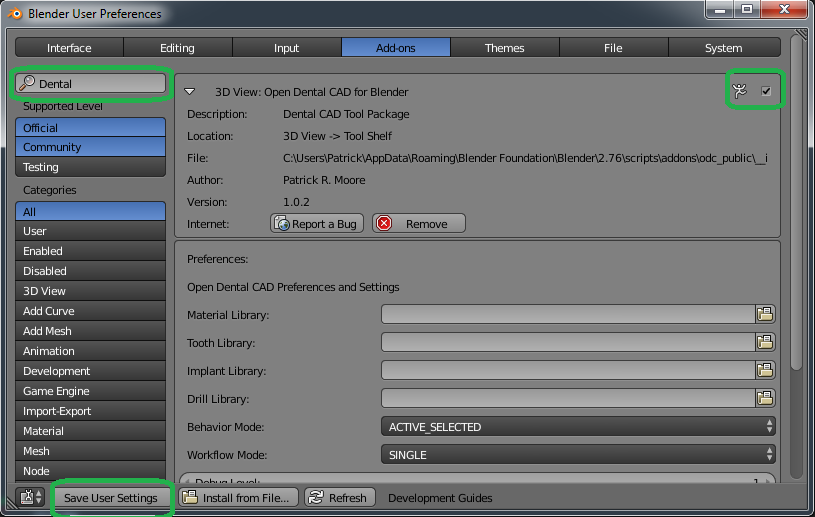
Enable the addon and it's dependencies in user preferences.


-
Whenever you want to update the addon, simply run "git pull" from the command line, or using your Git GUI.

-
To revert back to a particular version. Simply "checkout" that version with GIT and then restart Blender.

- Single Unit Crown
- 3 Unit Bridge
- Single Implant Guide
- Arch Planning
- Die and Model Repair
- Cutbacks
- Implant Temporary