Manual | Main Interface
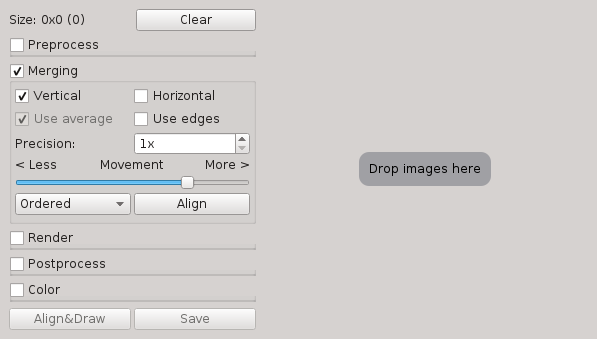
Left side contains all the settings to control the stitching process, while the right side is an image view of the stitched image.
Images can be added by dragging image files and dropping them anywhere on the window.

The current amount of added images is the number shown in the parentheses. By clicking "Clear" all images will be removed again. Once the images have been aligned, the image size will be shown:

The images are aligned using the "Merging" section:

The "Vertical" and "Horizontal" checkboxes controls which kind of motion is allowed between the images. If "Horizontal" is not checked only vertical motion is allowed, and the other way around. This mainly affects the time it takes to align the images, you can keep both checked if speed is not essential.
Clicking "Align" performs the actual aligning, while "Draw" renders the images and shows it in the image view. When you are satisfied with the result, click "Save" to save the image.
Most options are stored away in groups. They can be expanded or collapsed using the check-boxes:
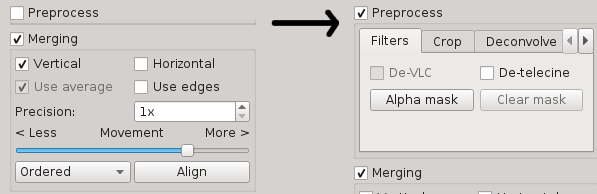
TODO: