-
Notifications
You must be signed in to change notification settings - Fork 11
Additional tips for physical setup
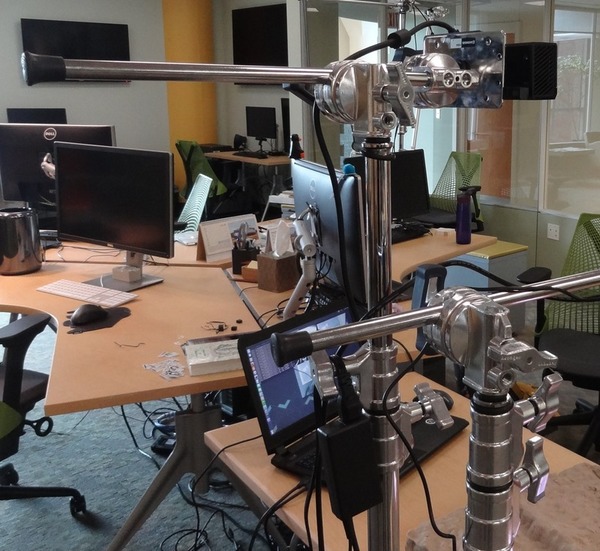
Cover the ends of the arms with the rubber cover to avoid potential injuries or damage. This is more important when the stands are placed in the way that people go around them or when the stands are placed close to a wall or a window.

To make the setup nicer as well as to avoid the cables being scanned lead the cables on the arm back and around the stand down.
Leveling the sensor may avoid the need for calibrating when the table is leveled as well. Skipping calibration may in turn enable you to move with the sensor later on to aligned its scanning plane with a tilted model.
Mount the projector and sensor part of the setup when the stand column is not fully risen. Only when their relative positions are adjusted and cables connected, raise the stand column to the desired height.
In this way, the relative settings of field of view of the scanner and projection do not change and neither does potential shading between the projector and the scanner, but the scanned area or projection size can be increased.
Some projector have different modes, see what mode is appropriate for you. For example some Epson projectors have eco mode which is silent and consumes less energy but gives a worse image which might be OK in a darker room or if the projector is close enough to the model.
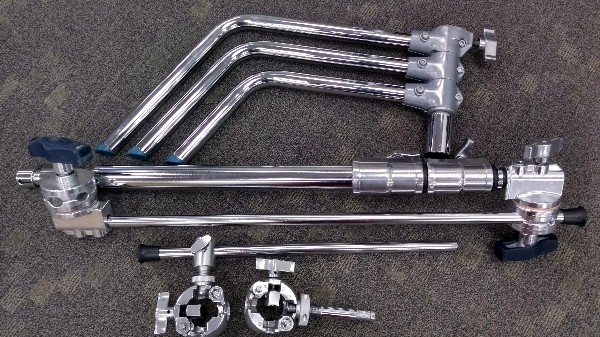
Fold what you can for transport, but disassemble only what you need to.

Getting started
- Software installation
- Physical setup
- Preparing a simple sand model
- Calibration
- Putting it all together
Tangible Landscape plugin manual
- Tangible Landscape plugin: Scanning
- Tangible Landscape plugin: Output
- Tangible Landscape plugin: Analyses
Advanced features
Resources