Section 4.8 Mounting the Heatbed
|
|
|
|
|
|
|


-
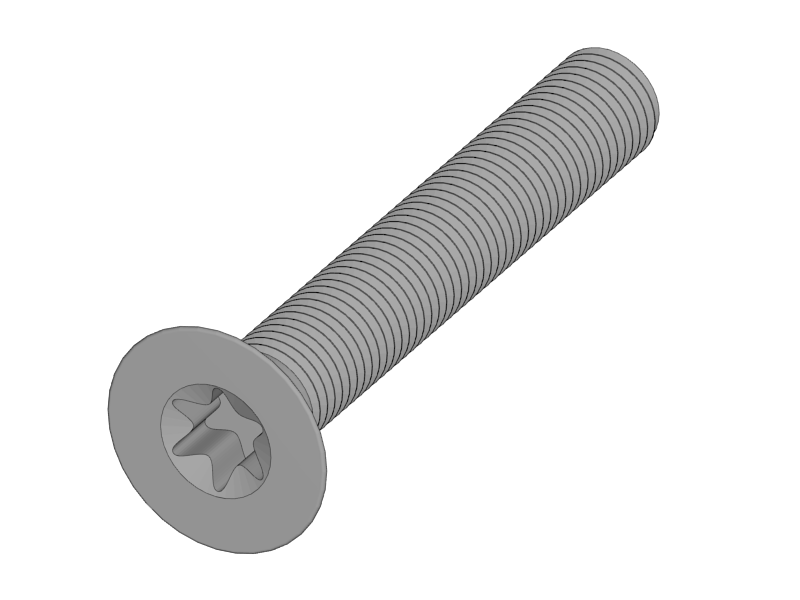
Mount the Mirror Clamp onto the Heatbed with the screws and nuts.
-
The matte side is mounted on top.
-
-
Tighten the nuts until the head of the screws is being pulled smoothly into the material of the mirror clamp.
|
|

-
Hold the heatbed on the left side of the y-carriage as shown in the picture above
-
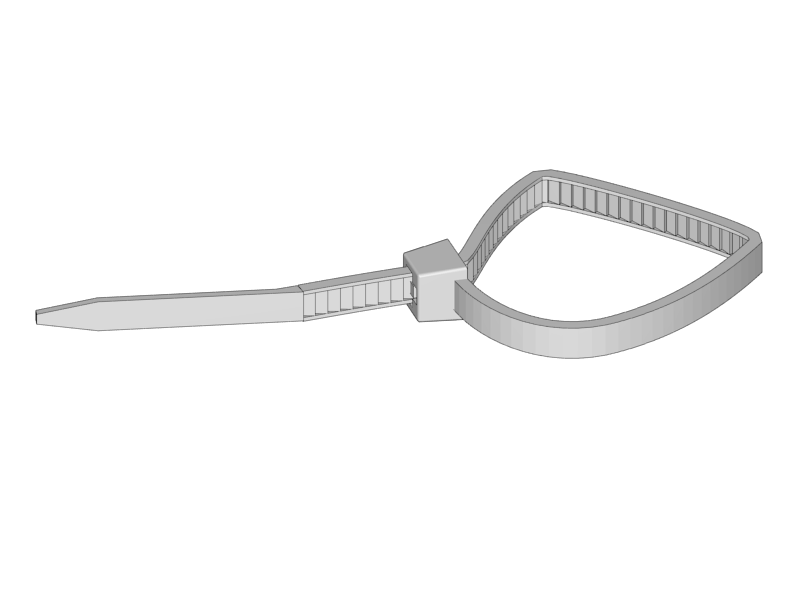
Fix the braided sleeve of the heatbed cable to the back of the y-carriage with a zip tie
-
Lay down the heatbed and organize the cable so that the wires are neatly underneath the heatbed.
|
|
|


-
Put the springs over the screws.
-
Tighten them with the knurled nuts.
-
The adjusting of the heatbed happens in the next chapter so don’t bother about it now.
|
|
|


-
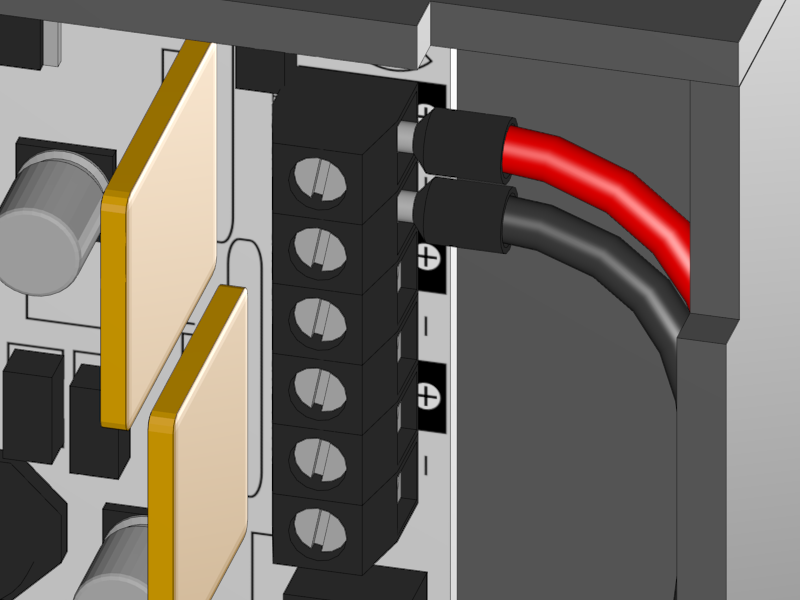
Connect the heatbed to the RUMBA
-
Fix the cable in such a way that it does not obstruct the movement of the Y-Axis.
-
The cable probably runs smoothest if guided between the M10 rod and the smooth rod.
-
Experiment with how to fix the cable with zipties for optimal movement.
-