-
Notifications
You must be signed in to change notification settings - Fork 10
Windows Installation Instructions
-
Download the DeepPhe Installer from the following URL: DeepPhe_windows.exe
-
Run the file that you just downloaded: DeepPhe_windows.exe
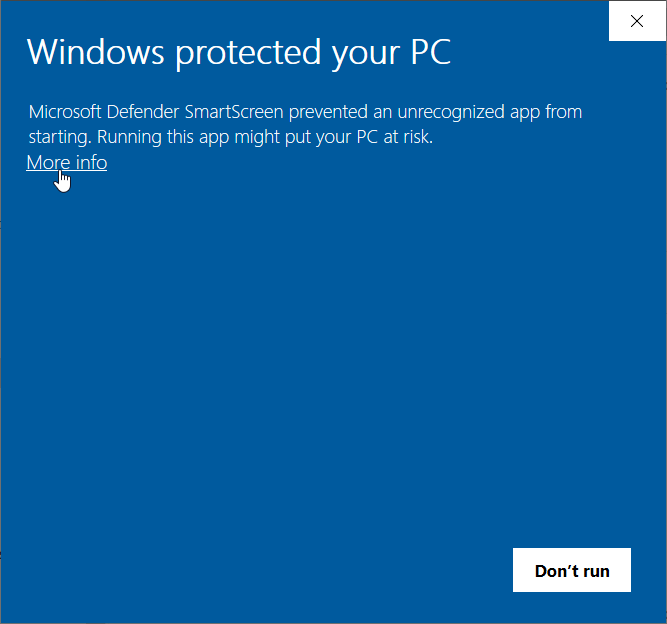
Since DeepPhe is niche software, it is not yet known to Microsoft. Therefore, when the installer is opened, you will see the following warning:

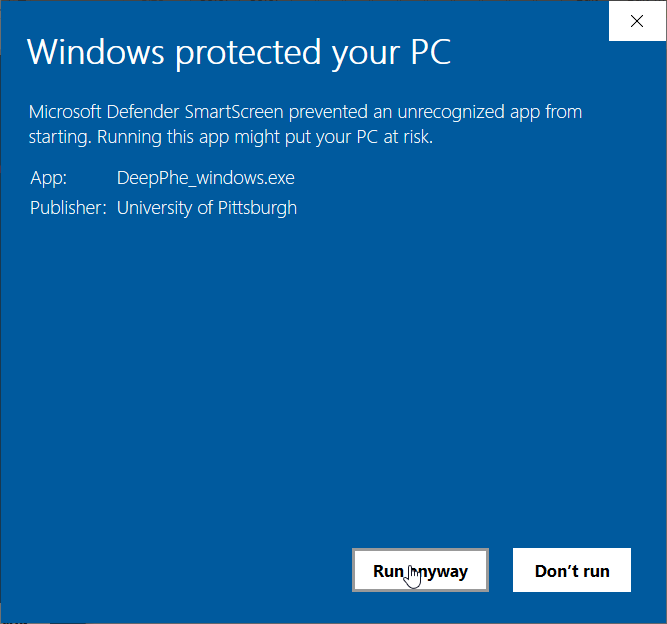
To bypass the warning, click "More Info". You can see that DeepPhe is digitally signed by the University of Pittsburgh and click "Run Anyway" to agree to start the installer.

Finally, you will be asked if you'd like to allow DeepPhe to make changes to your device. Click "Yes".
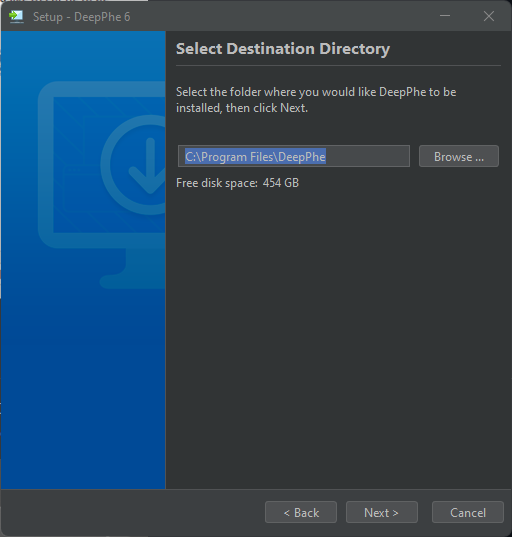
Once the installer runs and you've bypassed the warnings, follow the on screen prompts. You will be prompted to choose an installation directory for DeepPhe.

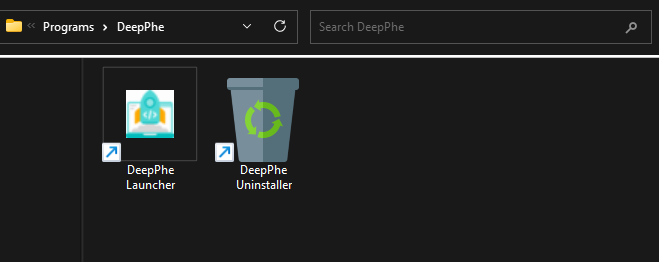
Once the installer completes, you should see the DeepPhe folder in your Program Files directory (or wherever you chose to install it).

The contents of the installation folder should look as follows:

After installation, we suggest that user read the Quickstart Guide for instructions on how to use DeepPhe.
Open the Pages section (above) to view all pages by title.
Installation
Windows
Mac
Linux
Known Issues
Quickstart
Windows Quickstart Tutorial
Mac Quickstart Tutorial
Command line-execution
Using DeepPhe-XN With Your Own Files
Input File Requirements
Configuring DeepPhe Phenotype Summarizer
Specifying and Interpreting Outputs
Example Files Description
Using DeepPhe-XN Visualizer
Additional Output File Types
Example File Data Specifics
About the DeepPhe Pipeline
Pipeline Description
Code Modules
-
AE
-
division
-
section
-
temporal
-
CR
-
filetree
-
naaccr